Trad climbing is essential for many routes, especially multi-pitch routes but it can also be nerve-wracking.
The added stress of placing your own protection instead of just clipping into pre-drilled bolts means that you’re more responsible for your safety and an error on your part can result in a ground fall. It sounds scary (it is scary) but that doesn’t mean you should shy away from trad climbing.
To help make your transition into trad climbing easier, safer and for the best experience, here are some bits of advice from experienced trad climbers that I found to be super helpful.
1. Place a multi-directional piece early (and in a horizontal crack)
Often horror stories related to trad climbing include zippering, which is when a climber falls and their gear zippers out, which often results in a ground fall.
One of the easiest ways to prevent that is by placing a multi-directional piece so that it can withstand a falling force from any direction.
Cams are more multi-directional than nuts because, in the right circumstance, it can rotate within the crack and minimize the chance of popping out. However, you can place two nuts in opposition for a similar effect.
The main argument against using a cam is that a cam may “walk” out of its placement if the placement isn’t quite right or the crack you’re using isn’t parallel. With that being the case, there is a line between the cam being able to rotate and it walking out of the crack.
2. Practice taking gear off your harness and placing/testing it on the ground before you do your first climb
Nerves can be debilitating when you are on the rock and if you are tired or pumped while you’re placing gear, it is more likely that you’re going to make a mistake while placing gear. To minimize this, you need to become familiar with taking the gear off your harness and then placing it, testing it and clipping into it.
That way, when you are on the cliff-side and you’re tired or pumped, you can still place the gear because you are practiced and have somewhat muscle memory for how to do it.
To practice this process, you can stand on the ground and walk around the cliffside to test different placement or you can even go to an old parking lot and practice putting gear in the ground.
3. Learn crack climbing before you start trad
Crack climbing has different hand and foot jamming techniques that are different than most sport climbing and bouldering techniques (such as laybacks). With trad climbing, you’re often going to be around cracks and being able to crack climb will help make routes so much easier.
Not only will learning crack climbing techniques make the routes easier, but it’ll also prevent you from hurting your ankle or knee joints due to poor technique and inexperience use of crack climbing.
4. Review the direction of possible falls to place the gear appropriately
Oftentimes climbers will place gear perfectly perpendicular to the crack, however, there are times that the route will take you to the left or right and the direction of your fall can interfere with the device’s ability to protect you.
With that being the case, you should always be reviewing the direction of possible falls and adjusting placements as needed. This may also include extending the draw using a sling so that the rope can be as straight as possible when you place the next piece of gear.
5. Review where you intend to place the first few pieces of gear before you get on the wall
Knowing where you are going to place gear before you get on the wall can help you not only place the appropriate gear in the best place but it can also make the climb itself less stressful and more enjoyable.
Before you start climbing, place the gear that you intend to use first on your harness as close to the arm that you intend to place it with so that it is easy to find and place.
This will also help prevent you from falling at your first placement (resulting in a ground fall) because you are more prepared to place the gear.
6. Climb with a certified guide on your first few routes
Learning the safest techniques from a trusted source is essential for being able to trad climb safely and confidently. Climbing with a certified guide can give you that confidence because you know that they are trained with the safest practices and have a lot of experience doing so.
You can climb with non-certified guides when you get started but it’ll be harder to gauge whether or not their practices are the best or safest.
It is usually more expensive to climb with a guide but the confidence that you’re doing the right thing at the right time with the right protection in the right place can make trad climbing much more enjoyable.
If you can’t afford a certified guide, find someone very experienced with trad climbing and second with them for a couple of dozen routes before you try your hand at lead trad climbing.
7. Top-rope on a second line when you are leading your first few routes
This advice may not be given enough, which is too bad because it can be a lifesaver for those learning to climb trad. When you top-rope on a second line, you have the added safety of a stable anchor to protect you in case you don’t place the right gear in the right place and in the right orientation.
In addition to being a safety net for errors common with beginner trad climbers, it can also enable you to get feedback from other climbers while you are climbing. For example, if you place gear and the experienced trad climber who is teaching you suggests a different placement, you can use the top-rope belayer to help lower you back to that place to fix it or move it.
Oftentimes when people are going back and forth with placement while top-rope climbing, it is common to use aiders so that you can get back up to your spot on the wall without exerting significant energy.
8. Avoid placing gear too deep
If you place your gear too close to the surface of the rock, you risk the rock breaking off and thus the protection won’t be protecting you anymore. If you place gear deep, you may feel like the rock will be more secure, however, placing your gear too deep will make it more difficult to retrieve the gear when you are cleaning the route.
With that being the case, make sure that if you’re using a cam that you can still pinch the device open (or your follower has small enough hands to do so). If you’re using nuts, make sure that you can reach or maneuver it with whatever tools you prefer.
9. Climb Routes Well Within Your Skill Level
The psychological toll of trad climbing is usually higher than sport climbing so even if you are onsighting (climbing to the top on your first try) a 5.11c, consider trad climbing 5.10s first until you get the skill and confidence for gear placement.
That way you aren’t in a compromising position that makes you rush placing gear while you’re still getting familiar with everything.
Need Trad Gear?
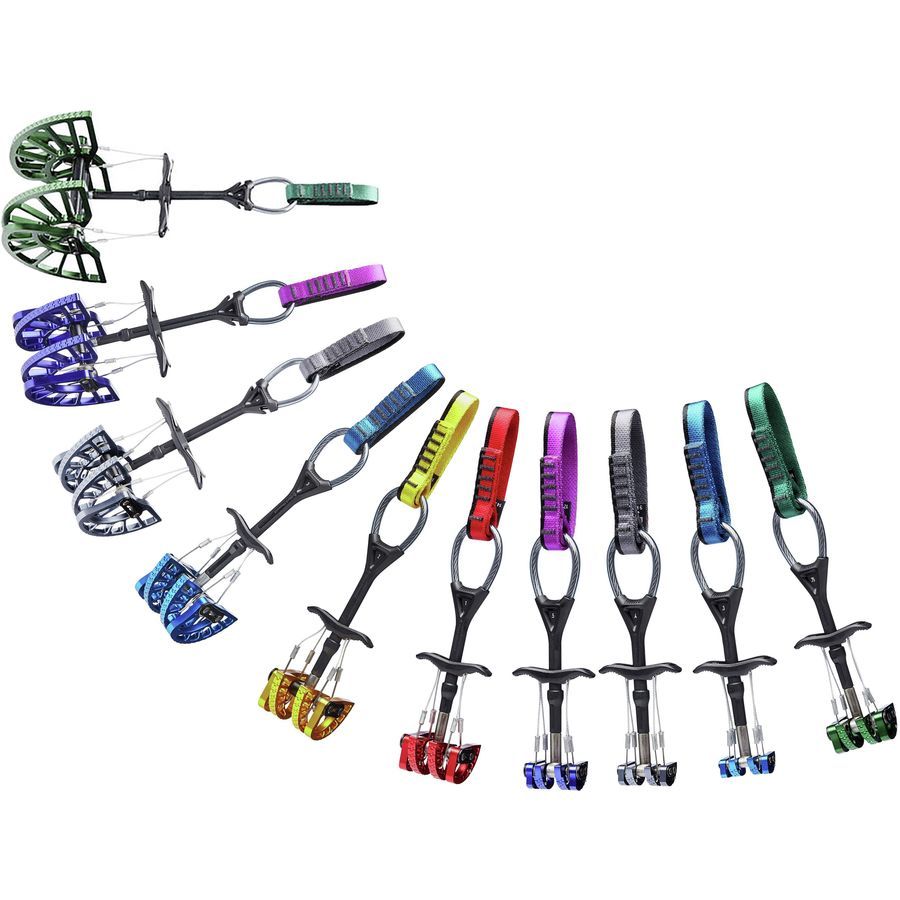
Check out the pricing on this full cam set from Backcountry here.

10. Extend draws when routes go sideways
Ideally, your rope will be in a straight line from the top to bottom. This will make it so that if you fall, the force impact on your gear is going to be mostly up and down and prevent gear from popping out sideways.
To do this, either you climb perfectly vertical or you extend your draws using a sling. The more to the sideways you anticipate climbing, the longer the sling should be.
11. Climb down to extend draws/slings when the route goes more sideways than anticipated
Highly experienced trad climbers climb down to extend their draws if the route goes more sideways than anticipated. As mentioned above, it is important to extend draws to help make the fall impact to be as vertical as possible.
However, sometimes you may climb more sideways than anticipated so that the straight vertical line you are going for is a little more curved. If you notice that it is more curved, then it is best to climb back down after placing the next gear to extend the draw.
That way you don’t have to worry about it later in the climb when you may be doing something more challenging and falls are more likely.
12. Practice feeling the crack and learning what size to use
The more you climb trad the better you’ll become at this, however you can practice recognizing crack size with the gear when you climb second on routes.
To do this, when you are cleaning up the route as a second, don’t just remove the gear. You can feel the crack after you’ve removed it and start to recognize what gear goes with what crack.
This will give you a good foundation for when you are placing gear so you don’t have to worry about going through multiple pieces of gear while trying to figure out which one works best.
13. Take a breath before you place your gear
The most errors with gear placement in trad climbing is usually related to being anxious or tired when placing the gear so placement is rushed and mistakes are made.
To prevent mistakes, take three big breaths (in and out) before placing the gear to help calm your mind.
If you are getting really tired and being able to take a few deep breaths before placement seems impossible then there are two things you can do.
- Place gear more often so that the pressure of good gear placement is a little bit less imminent.
- Climb easier routes. If the route is so difficult that you risk making mistakes with gear placement multiple times throughout the route, then the route you are climbing may be too difficult and easier routes should be considered.
14. Place solid gear before and directly after the crux
It is common for trad climbers to place gear before a crux (the hardest part of the climb) so that they have protection closer to the additional risk of falling. When it comes to gear after the crux, it is common to wait for quite a few feet after the crux before placing more gear. This is usually to save gear since cruxes tend to only be a couple of moves.
However, since the crux is the hardest part of the route, it would be better to place gear directly after the crux to minimize the risk of having to do it all again. Doing the crux of a climb multiple times can make you too tired to complete the rest of the climb
15. Wear Comfortable Shoes
Most mid-level to advanced-level climbing shoes are built to support your foot in an arched position which often requires a smaller size to make your heel cup fit right. The sizing paired with your foot being forced into an arched position makes climbing shoes uncomfortable and difficult to wear for long periods.
Since most trad climbing includes multi-pitch routes and jamming your feet into cracks, it’s ideal to wear comfortable shoes.
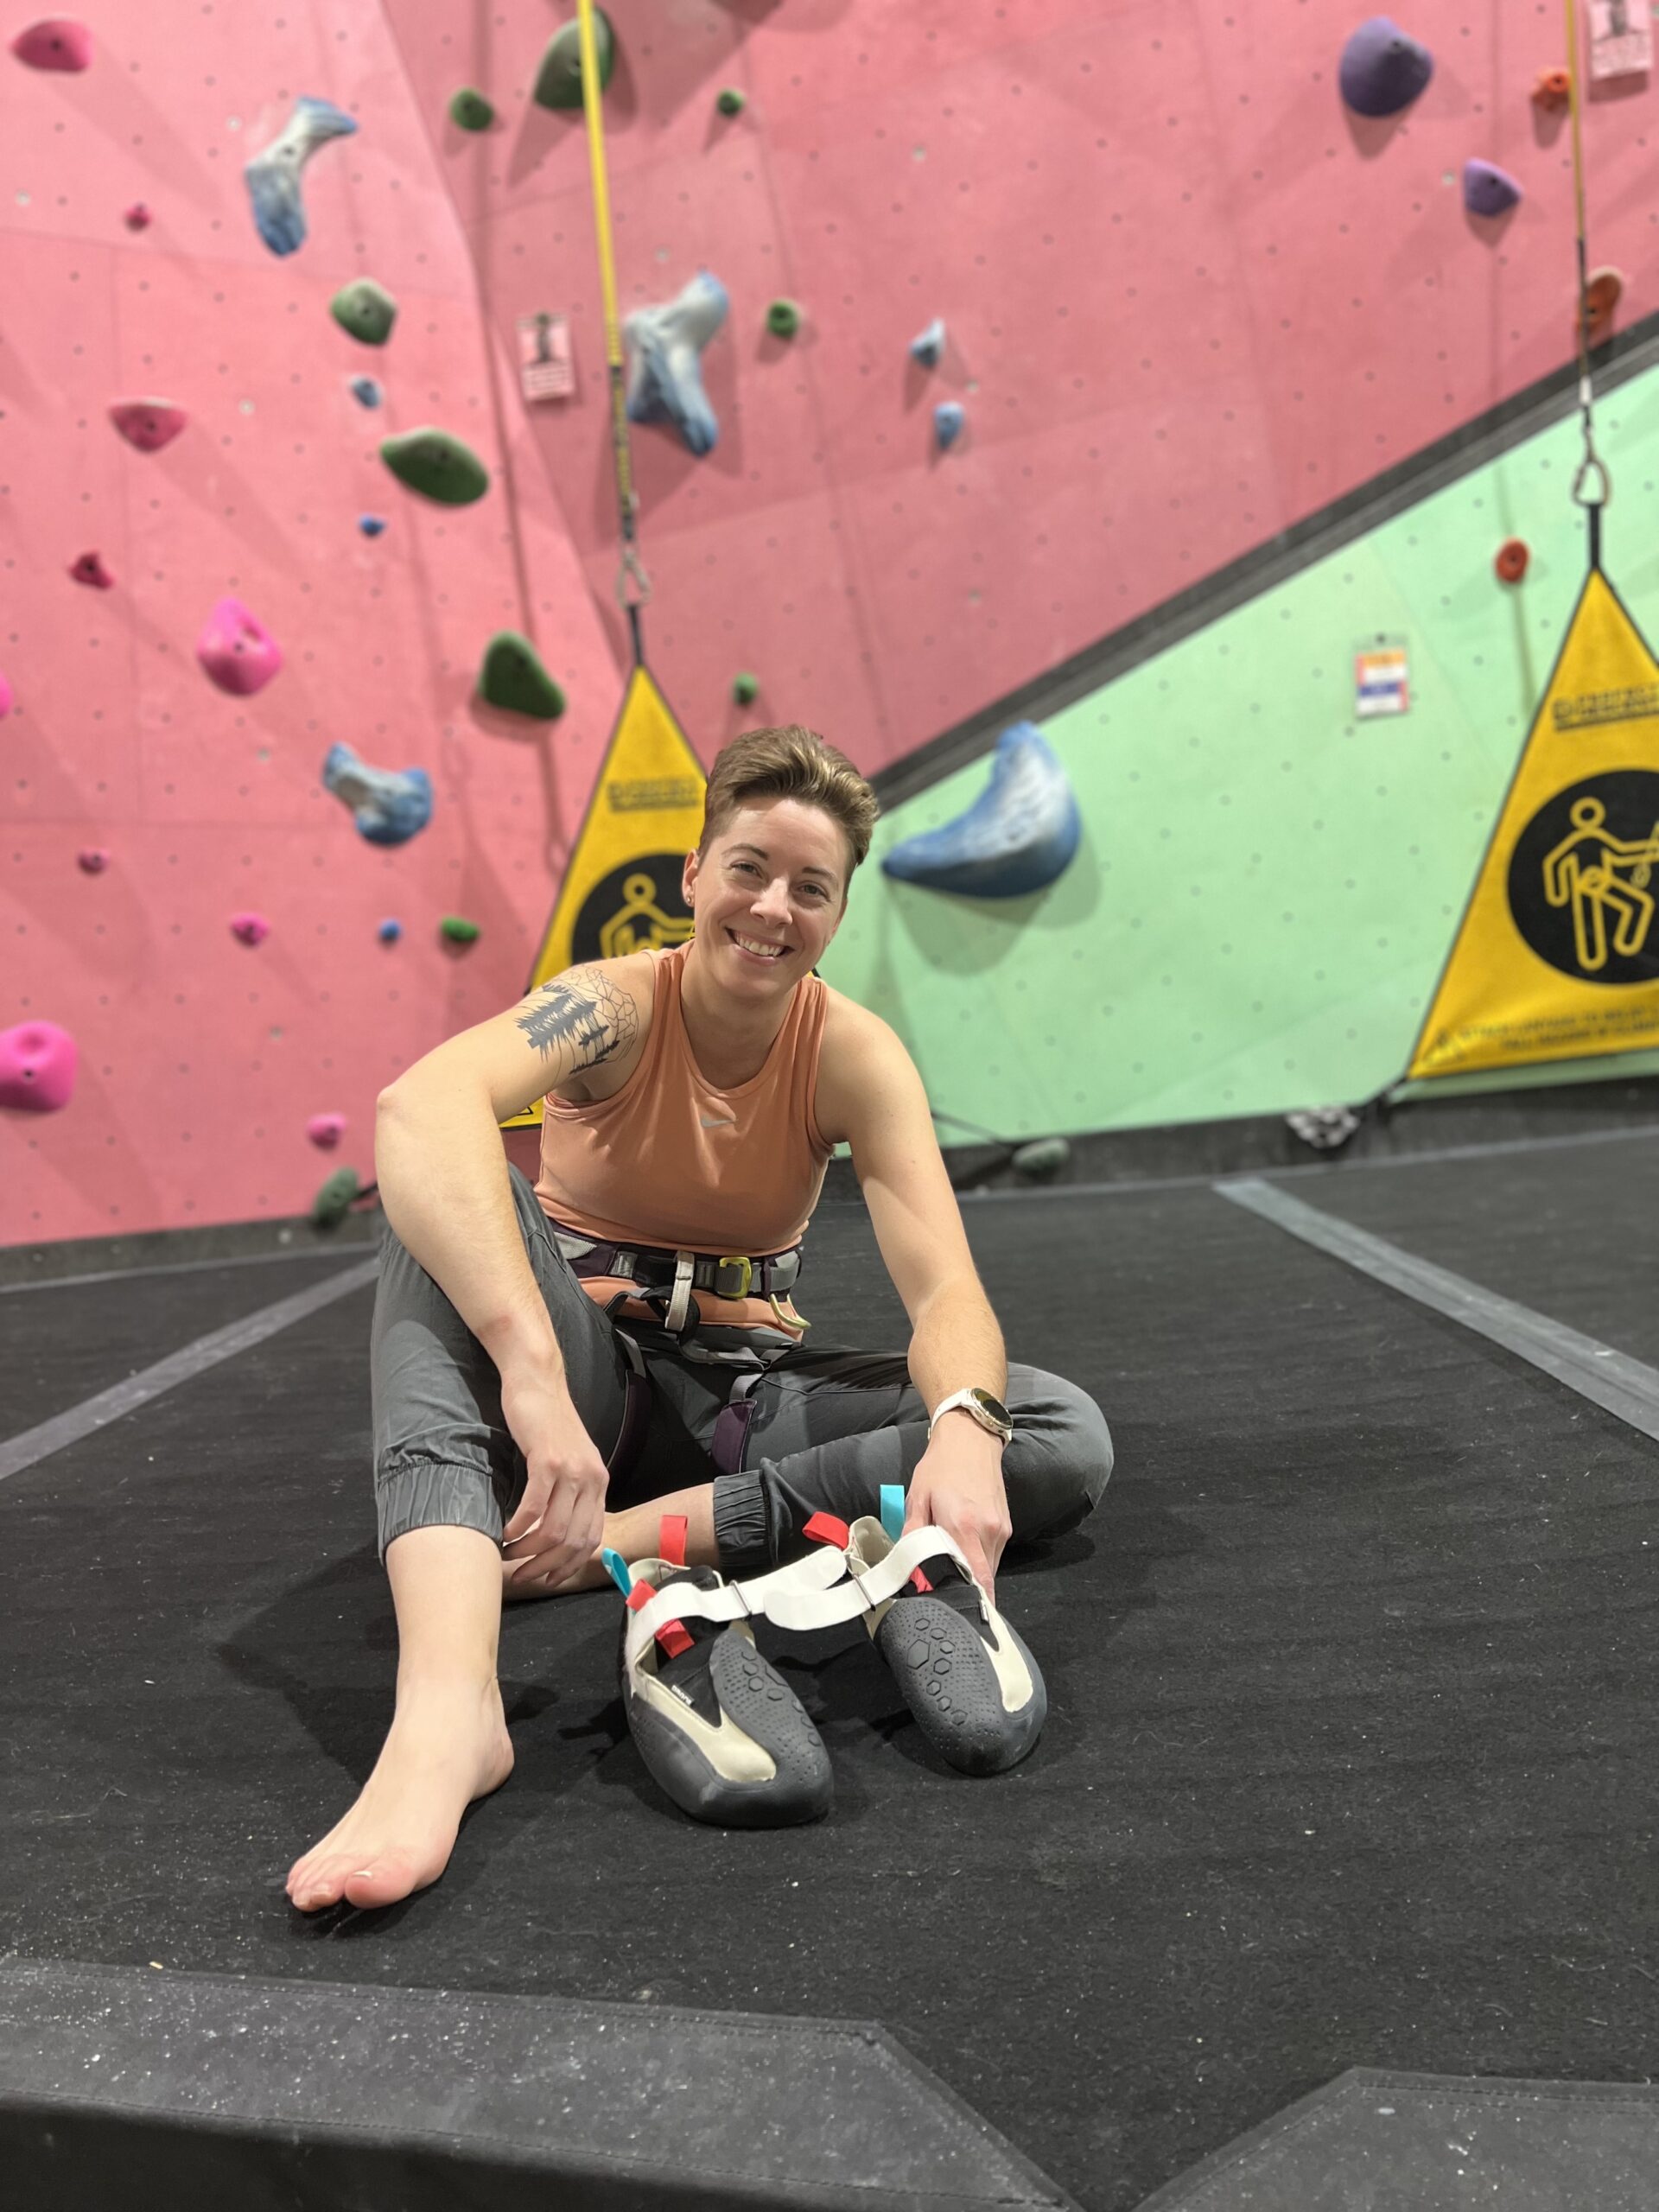
Shoes that have a neutral downturn (flat profile) and fit snug but without pain are ideal. There are climbing shoes that have additional material around the ankle to help add support and comfort to your ankles. Plus the extra material usually prevents scraping your ankles while jamming your feet in cracks.
16. Wear a Helmet
I don’t see this advice very often when it comes to trad climbing forum threads but it can’t be overstated, especially in trad climbing. Wear a helmet.
The risk of rocks breaking or popping out under the pressure of gear is much higher than in sport climbing (which you should also wear a helmet while sport climbing) so you and the belayer must wear a helmet.
Climbing helmets are made specifically with falling rocks in mind so make sure that you are using a climbing-specific helmet and not a bike helmet.
17. Use a guide book for your first time on a route
Figuring out the beta is an enjoyable challenge of climbing. However, when it comes to your first few times leading on trad, it’s ideal to already have an idea of where to place your gear.
In sport climbing, it’s relatively easy to see where the next bolt you need to clip into is so you know the general direction that you need to go. In trad climbing, the only indication of where to place gear is either your gut feeling that comes from experience or from a guide book that gives recommendations for where to place gear and what gear to use.
Some climbers may feel like it’s cheating to use a guide book but when you are new to trad climbing, it is more important to focus on the climbing and placing gear instead of adding the stress of figuring out where a good place for gear is.


