Bouldering doesn’t require as much gear as rock climbing because most routes are up to 12ft and if you fall, there isn’t a belayer to prevent you from hitting the ground.
For bouldering, the minimal gear you need includes a pair of climbing shoes and a crash pad. Most climbers also prefer chalk and a chalk bag or chalk bucket to help protect their hands while climbing and help manage sweaty palms.
If you don’t have these three items, then you’ll need to consider where you are climbing and how experienced you are in climbing to choose the best options for you.
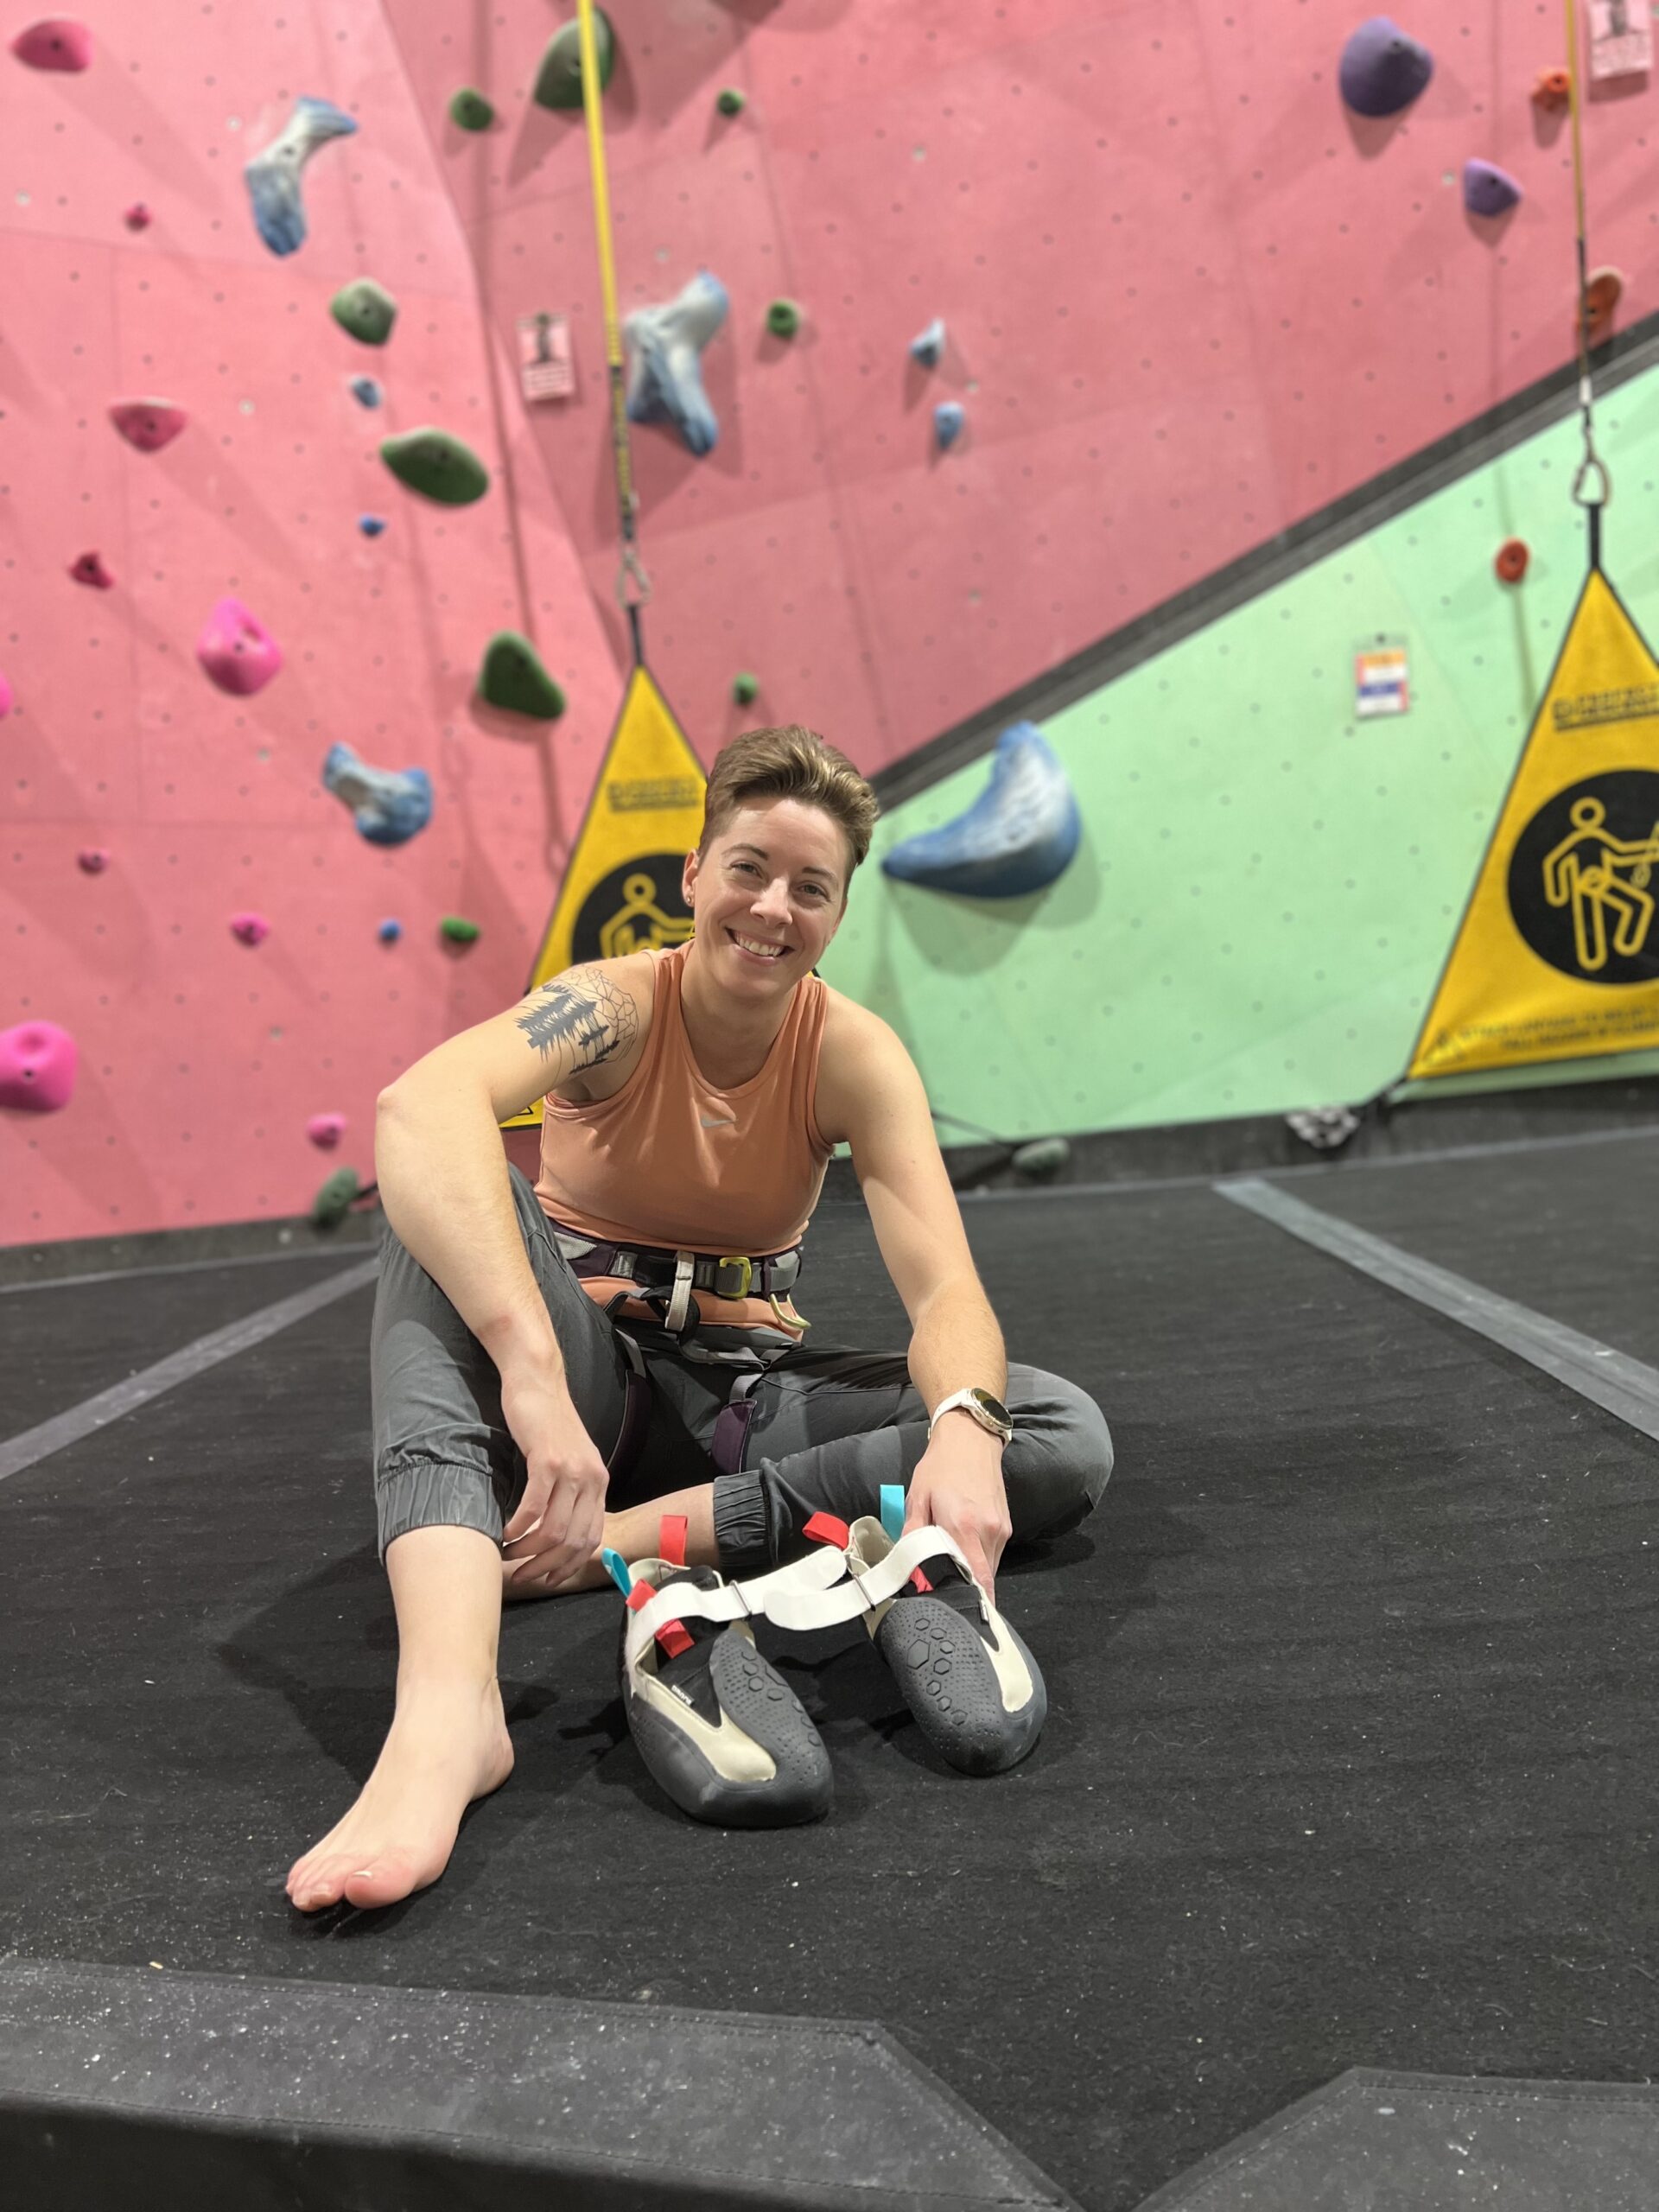
Climbing Shoes
Expected Cost: $70-$150
If you’re new to climbing, you may be considering climbing in tennis shoes, however, climbing shoes makes a big difference with whether or not you’ll be able to send your bouldering project.
Rock shoes are built to support your toes on small foot holds and assist you with the grip your feet have on the wall.
My Top Recommendation: Mad Rock Drone LV
Recommendation for Beginners: Black Diamond Momentum (see price on Backcountry here)
There are a few features to look for when you are selecting your new pair of climbing shoes:
- Shoe Shape: For bouldering it’s ideal to get a pair of shoes that are neutral, meaning they’re flat or a pair that is moderate, meaning they’re slightly downturned. New climbers usually prefer neutral shoes because they are the most comfortable.
- Rubber Type: The better the rubber, the easier it is to grip the wall with your feet. For this reason, you usually have to pay over $120 for a pair of shoes that have good rubber.
- Sizing: Comfortable is usually too big and Painful is too small so find a pair of shoes that are uncomfortable but not painful to wear. There is a difference in heel cup size and toe box size so try on the pair of shoes before you buy them and feel around for extra spacing throughout the foot. It is unlikely you’ll find a shoe that fits perfectly, but one that fits as snug as possible is ideal.
I wrote an entire article about my favorite climbing shoes and what to look for when choosing your next pair here.
Crash Pad
Expected Cost: $100-$350
Crash pads are only needed for outdoor bouldering so if you’re bouldering at the gym, this is something that you can skip. As for those of you that are bouldering outdoors, the bouldering pad is what will pad your fall and is necessary for safe climbing.
My Top 5 Recommendations for Crash Pads
When you are looking at crash pads consider the following features before purchasing one:
- Thickness: Most bouldering crash pads are between 3½ – 5 inches thick. Generally, the more thick the pad is, the softer the landing. If you’re climbing higher routes, then get a thicker pad. If most of your climbs are short and you want to save some money, you can usually get away with a 3 ½ inch thick pad.
- Size: In bouldering, there is a fall zone which is an area that you are most likely to hit the ground in while climbing. The higher the route or the more overhung the route is (steeper angle) the bigger the pad you’ll need to cover the fall zone. Many people purchase multiple pads to cover the fall zone but if you don’t want to do that, you can also use a friend to move the pad as you move and the fall zone moves and to help guide you to the pad if you fall (spot you).
- Foam Material: The material of the pad will change how firm the pad is and how long it’ll last. Thinner pads should be more firm so that they can prevent you from feeling any rocks under the pad when you fall. In comparison, most thicker pads have a stiff layer covered by a softer layer to make the fall more comfortable. The terms to differentiate between them are Hard/Closed and Soft/Open.
I wrote an article going into more depth about what to consider before purchasing a crash pad and what I recommend based on where you’re climbing here.
Chalk
Expected Cost: $5-$15
You can get liquid chalk or powder/dry chalk. Boulderers usually prefer powder chalk because you don’t have to wait for the chalk to dry between routes. However, professional climbers usually mix a base layer of liquid chalk and then put powder chalk on top.
Liquid Chalk Recommendation: Friction Labs Skin Friendly Secret Stuff (see price on Backcountry here)
Dry Chalk Recommendation: Joshua Tree Flower Power (see price on Amazon here)
When it comes to dry chalk, there is a range between fine and chunky. Fine chalk usually feels like a soft powder whereas chunky chalk is… well, chunky. You usually have to crush the chunks in your hands to apply the chalk to your hands.
Some climbers love chunky chalk and some climbers prefer fine chalk.
Pros of Chunky Chalk:
- Stays in your chalk bag better because the chunks are heavy
- It’s easy to feel where the chalk has been applied when you crush the chunks between your fingers
Cons of Chunky Chalk:
- Some chunks hurt to break apart
- It can be hard to get chalk everywhere you need it without rubbing both hands together
Pros of Fine Chalk:
- Easy to get everywhere you need it
- Feels soft and comfortable on your hands
Cons of Fine Chalk:
- It usually “poofs” everywhere and can make a mess
- Because it “poofs” everywhere, there is usually a lot of wasted chalk making it a little more expensive
This article covers every question about chalk that I could think of: Everything You Need To Know About Climbing Chalk
Chalk Bag vs Chalk Bucket
Expected Cost: $10-$45
Chalk bags are more common for rope climbing because you can tie it to your waist and reapply chalk throughout the route. However, since bouldering has shorter routes, it’s common for climbers to use a chalk bucket that they leave at the bottom of the route while they’re climbing.
So which is best for you?
The video above is a pros and cons comparison that I made of the two bag types and below is a brief summary if you prefer reading.
My chalk bucket is a Moon Climbing Bucket: See the pricing from Moon Climbing here.
My chalk bag isn’t available online but I plan to get this really cute one from Backcountry.
Pros of Chalk Bag
- The chalk bag can be attached to your waist so it is always with you
- No one will take chalk from your bag without permission beforehand
- You can reapply chalk during the route if needed
- They usually have a place for a brush so you can always have a brush on you if you find a hold that is difficult to use
Cons of a Chalk Bag
- If you leave the bag open while you’re bouldering and fall, it is likely you’ll lose a lot of chalk
- You can only fit one hand in the bag comfortably so it is likely that you’ll lose chalk while you apply the chalk to both hands
Pros of a Chalk Bucket
- You can fit both hands in the bucket at a time limiting waist
- The bucket remains at the bottom of route so you don’t risk losing chalk when you fall
- Most chalk buckets have pockets and places to keep all of your gear, phone and keys (it’s like a gym bag for climbing)
Cons of a Chalk Bucket
- It takes up more space when you’re storing it
- Other people at the gym are more likely to take chalk without permission
Other Gear That’s Nice To Have But Isn’t Necessary
Above outlines the minimal gear to have a great/safe time bouldering. However, if you’re wondering if there are any other items that you should be adding to your gear bag, then here are a couple of the most useful things to keep on you.
Climbing Brush
Expected Cost: $7-$30
I use the Black Diamond Medium Brush and it’s perfect for indoor and outdoor climbing: See the price from Amazon here.
Climbing brushes are used to clean off holds if you find a particularly slippery or slimy hold in the route you’re working on.
If you want to be cheap, you can use an old toothbrush but most climbing brushes are made with horsehair and are a bit larger. Many gyms already have brushes that you can use available so you may not need to buy one, but if you want one for outdoor bouldering, then I highly recommend getting one.
Though my gym has a few long and large brushes, I find using my own small brush is usually significantly easier to handle so my brush comes in handy quite often.
Tape
Expected Cost: $5-$15
I use the Evolv Magic Tape because it’s the perfect thickness and comes in fun colors. You can see the price on REI here.
You may see a lot of climbers in the gym with tape. Though tape is sometimes used to help prevent tendon injuries, I’d only recommend tape for skincare.
It is likely that your hands will go through a time where it is acclimating to the roughness of climbing and you may even get flappers (when a chunk of your skin tares off and it is only attached by a small edge of skin that makes it look like a flap of some sort). When you get flappers, you may stop climbing or you can use tape to hold the skin together so you can keep climbing.
Ideally you’ll give your skin enough time to heal but most climbers, myself included, find it hard to let your skin prevent you from climbing and use tape while it’s still healing.
ClimbOn
Expected Cost: $5-$15
See the current price on REI here.
You’ll find that your skin is often red and sore after climbing and ClimbOn is a skincare product that helps soothe the pain and heal your skin fast. Though there are a few other post-climbing skin care products from companies such as Joshua Tree and Friction Labs, ClimbOn has been my favorite because it’s less greasy and smells great.
You can use ClimbOn lotion (which is nice for broken skin) but I find the salve in a tube form is my favorite because it’s easy to apply and the least greasy product that I’ve used for my hands after climbing.
More About Bouldering:
- What Is The Minimal Gear Needed For Bouldering?
- Can You Boulder Alone? The 8 Benefits Of Climbing Alone
- The Complete Guide For Bouldering Grades – What You Should Know
- Should You Wear A Helmet For Bouldering?
- Can You Boulder In The Rain Or When The Rock Is Wet?
- First Time At The Bouldering Gym – What You Should Know
- Pros And Cons Of Indoor Bouldering
- Indoor Bouldering: Do’s And Don’ts For Beginners
- Bouldering For Beginners: What You Need To Know
- A Guide For Climbers: Bouldering Drills 101
- Is Climbing and Bouldering Good For Cardio?