If you want trad climbing advice for new trad climbers that actually keeps you safe, you’re in the right place. Trad is essential for a lot of routes, especially multi-pitch lines, but it can also be nerve-wracking when you’re first getting on the sharp end.
Placing your own protection instead of clipping pre-drilled bolts means you’re more responsible for your own safety, and a mistake can end in a ground fall. It sounds scary because it is scary, but that doesn’t mean you should shy away from trad. One thing worth saying up front: none of these tips replace hands-on mentorship. Learn from a certified guide or a very experienced trad partner before you lead, and treat what follows as a way to make that learning stick.
To make your transition into trad easier, safer, and a whole lot more fun, here are some tips for new trad climbers that experienced folks passed on to me and that I found super helpful.
1. Place a multi-directional piece early (and in a horizontal crack)
A lot of trad horror stories come down to zippering, which is when you fall and your gear rips out one piece after another, often ending in a ground fall. If you want to understand why that happens and how to place gear that holds, it’s worth reading up on whether falling on cams and nuts is dangerous and how to place gear safely.
One of the easiest ways to prevent zippering is to place a multi-directional piece early so it can take a load from any direction.
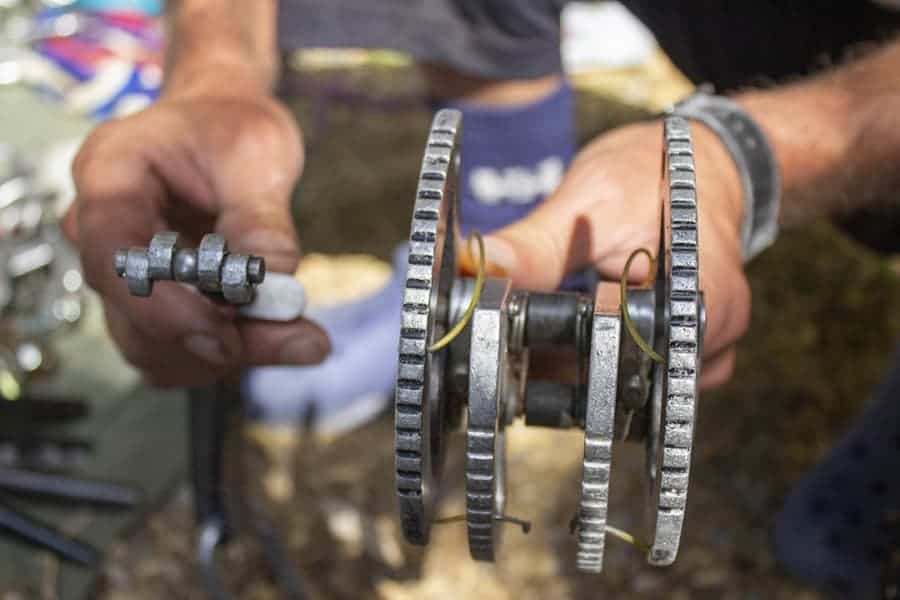
Cams are more multi-directional than nuts because, in the right spot, a cam can rotate in the crack and stay put instead of popping out. If you’d rather use nuts, you can place two in opposition for a similar effect.
The main knock against a cam is that it can “walk” out of its placement if the spot isn’t quite right or the crack isn’t parallel. So there’s a fine line between a cam that can rotate to stay seated and one that walks its way out of the crack.
2. Practice pulling gear off your harness and placing it on the ground before your first climb
Nerves can wreck you on the rock, and if you’re tired or pumped while you’re placing gear, you’re a lot more likely to fumble it. To cut that down, get familiar with pulling the gear off your harness, placing it, testing it, and clipping in.
That way, when you’re on the wall and you’re tired or pumped, you can still get the gear in because you’ve done it enough that it’s close to muscle memory.
To practice, stand on the ground and walk along the base of the cliff testing different placements, or head to an old parking lot and practice sinking gear into cracks in the concrete.
3. Learn crack climbing before you start trad
Crack climbing uses hand and foot jamming techniques that feel different from most sport and bouldering movement like laybacks. With trad you’re going to be around cracks a lot, and being able to actually crack climb makes routes so much easier.
Learning crack technique doesn’t just make the moves easier. It also keeps you from tweaking an ankle or a knee from poor jamming technique and inexperience.
4. Read the direction of your possible falls and place gear to match
A lot of climbers place gear perfectly perpendicular to the crack, but plenty of routes wander left or right, and the direction of your fall can mess with a piece’s ability to hold you.
So always be reading where a fall would actually take you and adjusting your placements as you go. That might mean extending a draw with a sling so the rope runs as straight as possible by the time you place the next piece.
5. Plan your first few placements before you leave the ground
Knowing where you’re going to place gear before you get on the wall helps you put the right piece in the right spot, and it makes the climb feel calmer and more fun.
Before you start, rack the gear you plan to place first close to the hand you’ll place it with so it’s easy to find and grab.
This also helps keep you from blowing it at your very first placement and decking, because you’re prepped and ready instead of fishing around.
6. Climb with a certified guide on your first few routes
Learning the safest techniques from a trusted source is huge for trad. Climbing with a certified guide gives you confidence because you know they’re trained in safe practices and have done this a lot. This is the mentorship piece we mentioned up top, and it matters more in trad than in almost any other kind of climbing.
You can climb with non-certified partners when you’re starting out, but it’s harder to judge whether their habits are actually the safest.
A guide usually costs more, but the confidence of knowing you’re doing the right thing at the right time with the right protection in the right place makes trad way more enjoyable.
If you can’t swing a certified guide, find someone very experienced with trad and second them for a couple dozen routes before you try leading trad yourself.
7. Top-rope on a second line when you lead your first few routes
This one doesn’t get said enough, which is a shame because it can be a lifesaver while you’re learning to lead trad. When you top-rope on a second line, you’ve got the backup of a solid anchor in case you don’t get the right gear in the right place in the right orientation.
On top of being a safety net for the mistakes new trad climbers make, it also lets you get feedback while you’re climbing. For example, if you place a piece and the experienced climber teaching you suggests something better, the top-rope belayer can lower you back to fix or move it.
When people are going back and forth on placements while top-roping, it’s common to use aiders so you can get back up to your spot on the wall without burning a ton of energy.
8. Don’t place gear too deep (or too shallow)
Place gear too close to the surface of the rock and you risk that rock breaking off, which means the piece isn’t protecting you anymore. Place it too deep and it might feel more secure, but it gets a lot harder to retrieve when you’re cleaning the route.
So if you’re using a cam, make sure you can still pinch the trigger open, or that your follower has small enough hands to do it. If you’re using nuts, make sure you can reach or work them out with whatever tool you like.
9. Climb routes well within your skill level
The mental toll of trad is usually higher than sport, so even if you’re onsighting 5.11c (sending it clean on your first try), think about climbing 5.10 trad first until you’ve got the skill and confidence for gear placement.
That way you’re not stuck in a compromising spot rushing to place gear while you’re still getting the hang of everything.
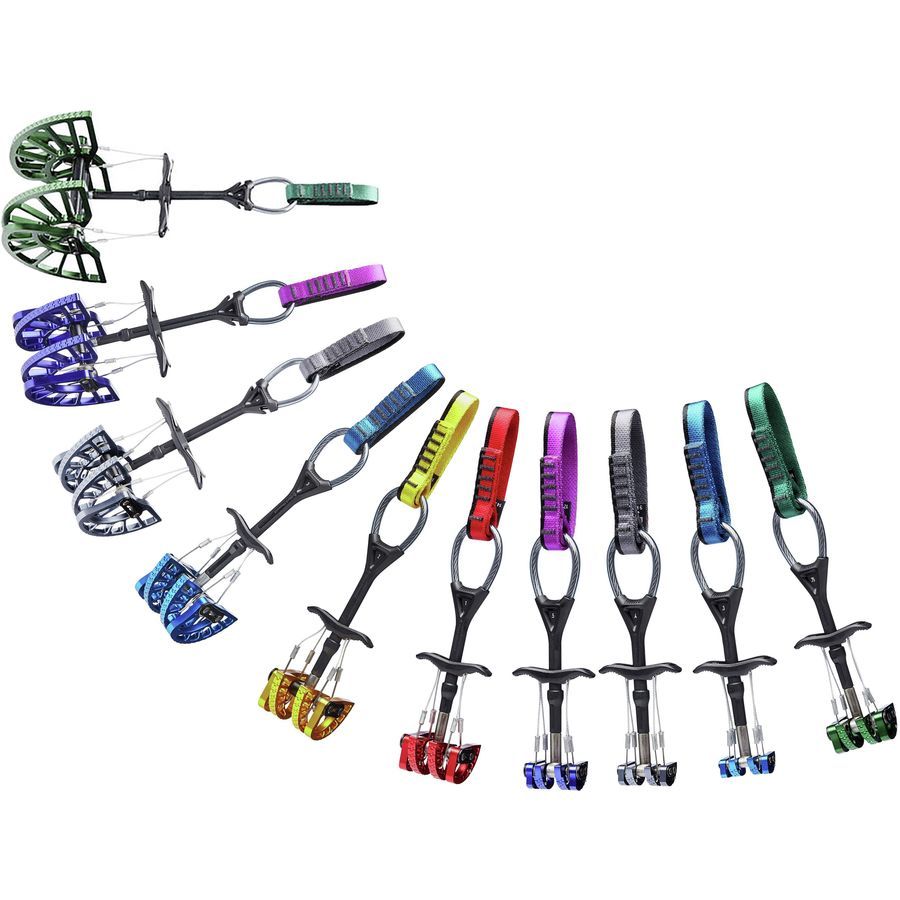
Need Trad Gear?
Check out the pricing on this full cam set from Backcountry here.
10. Extend your draws when routes go sideways
Ideally your rope runs in a straight line from top to bottom. That way, if you fall, the force on your gear stays mostly up and down and your pieces are less likely to pop out sideways.
To pull that off, either you climb perfectly vertical or you extend your draws with a sling. The more sideways you expect to go, the longer the sling should be. If you’re wondering what to rack for this, here’s a look at what quickdraws trad climbers actually use.
11. Climb down to extend a draw when a route goes more sideways than you thought
Really experienced trad climbers will climb back down to extend a draw if a route wanders sideways more than they expected. Like we said above, extending draws helps keep any fall as vertical as possible.
Sometimes you drift sideways more than planned, so that straight vertical line you were going for ends up curved. If you notice it curving, it’s best to climb back down after placing the next piece and extend the draw.
That way you’re not worrying about it later in the climb, when you might be doing something harder and a fall is more likely.
12. Practice feeling the crack and learning what size to use
The more you climb trad the better you’ll get at this, but you can practice reading crack size against your gear while you’re seconding routes.
To do it, when you’re cleaning a route as the second, don’t just yank the gear out. Feel the crack after you remove each piece and start to connect what gear goes with what crack.
That gives you a solid foundation for when you’re the one placing, so you’re not cycling through five pieces trying to figure out which one fits.
13. Take a breath before you place your gear
Most gear-placement mistakes in trad come from being anxious or tired, rushing the placement, and getting it wrong.
To head that off, take three big breaths, in and out, before you place a piece to settle your head.
If you’re getting really tired and even a few deep breaths before placing feels impossible, there are two things you can do.
- Place gear more often so the pressure of nailing any single placement is a little lower.
- Climb easier routes. If a route is so hard that you’re risking gear mistakes over and over, it might just be too difficult for now, and an easier line is the smarter call.
14. Place solid gear before and directly after the crux
Trad climbers usually place gear before a crux (the hardest part of the climb) so they’ve got protection close to the spot where a fall is most likely. After the crux, a lot of people wait a good while before placing again, usually to save gear since cruxes tend to be only a couple of moves.
But since the crux is the hardest part of the route, it’s better to place a piece directly after it so you don’t risk doing the whole thing again. Repeating the crux can leave you too gassed to finish the rest of the climb.
15. Wear comfortable shoes
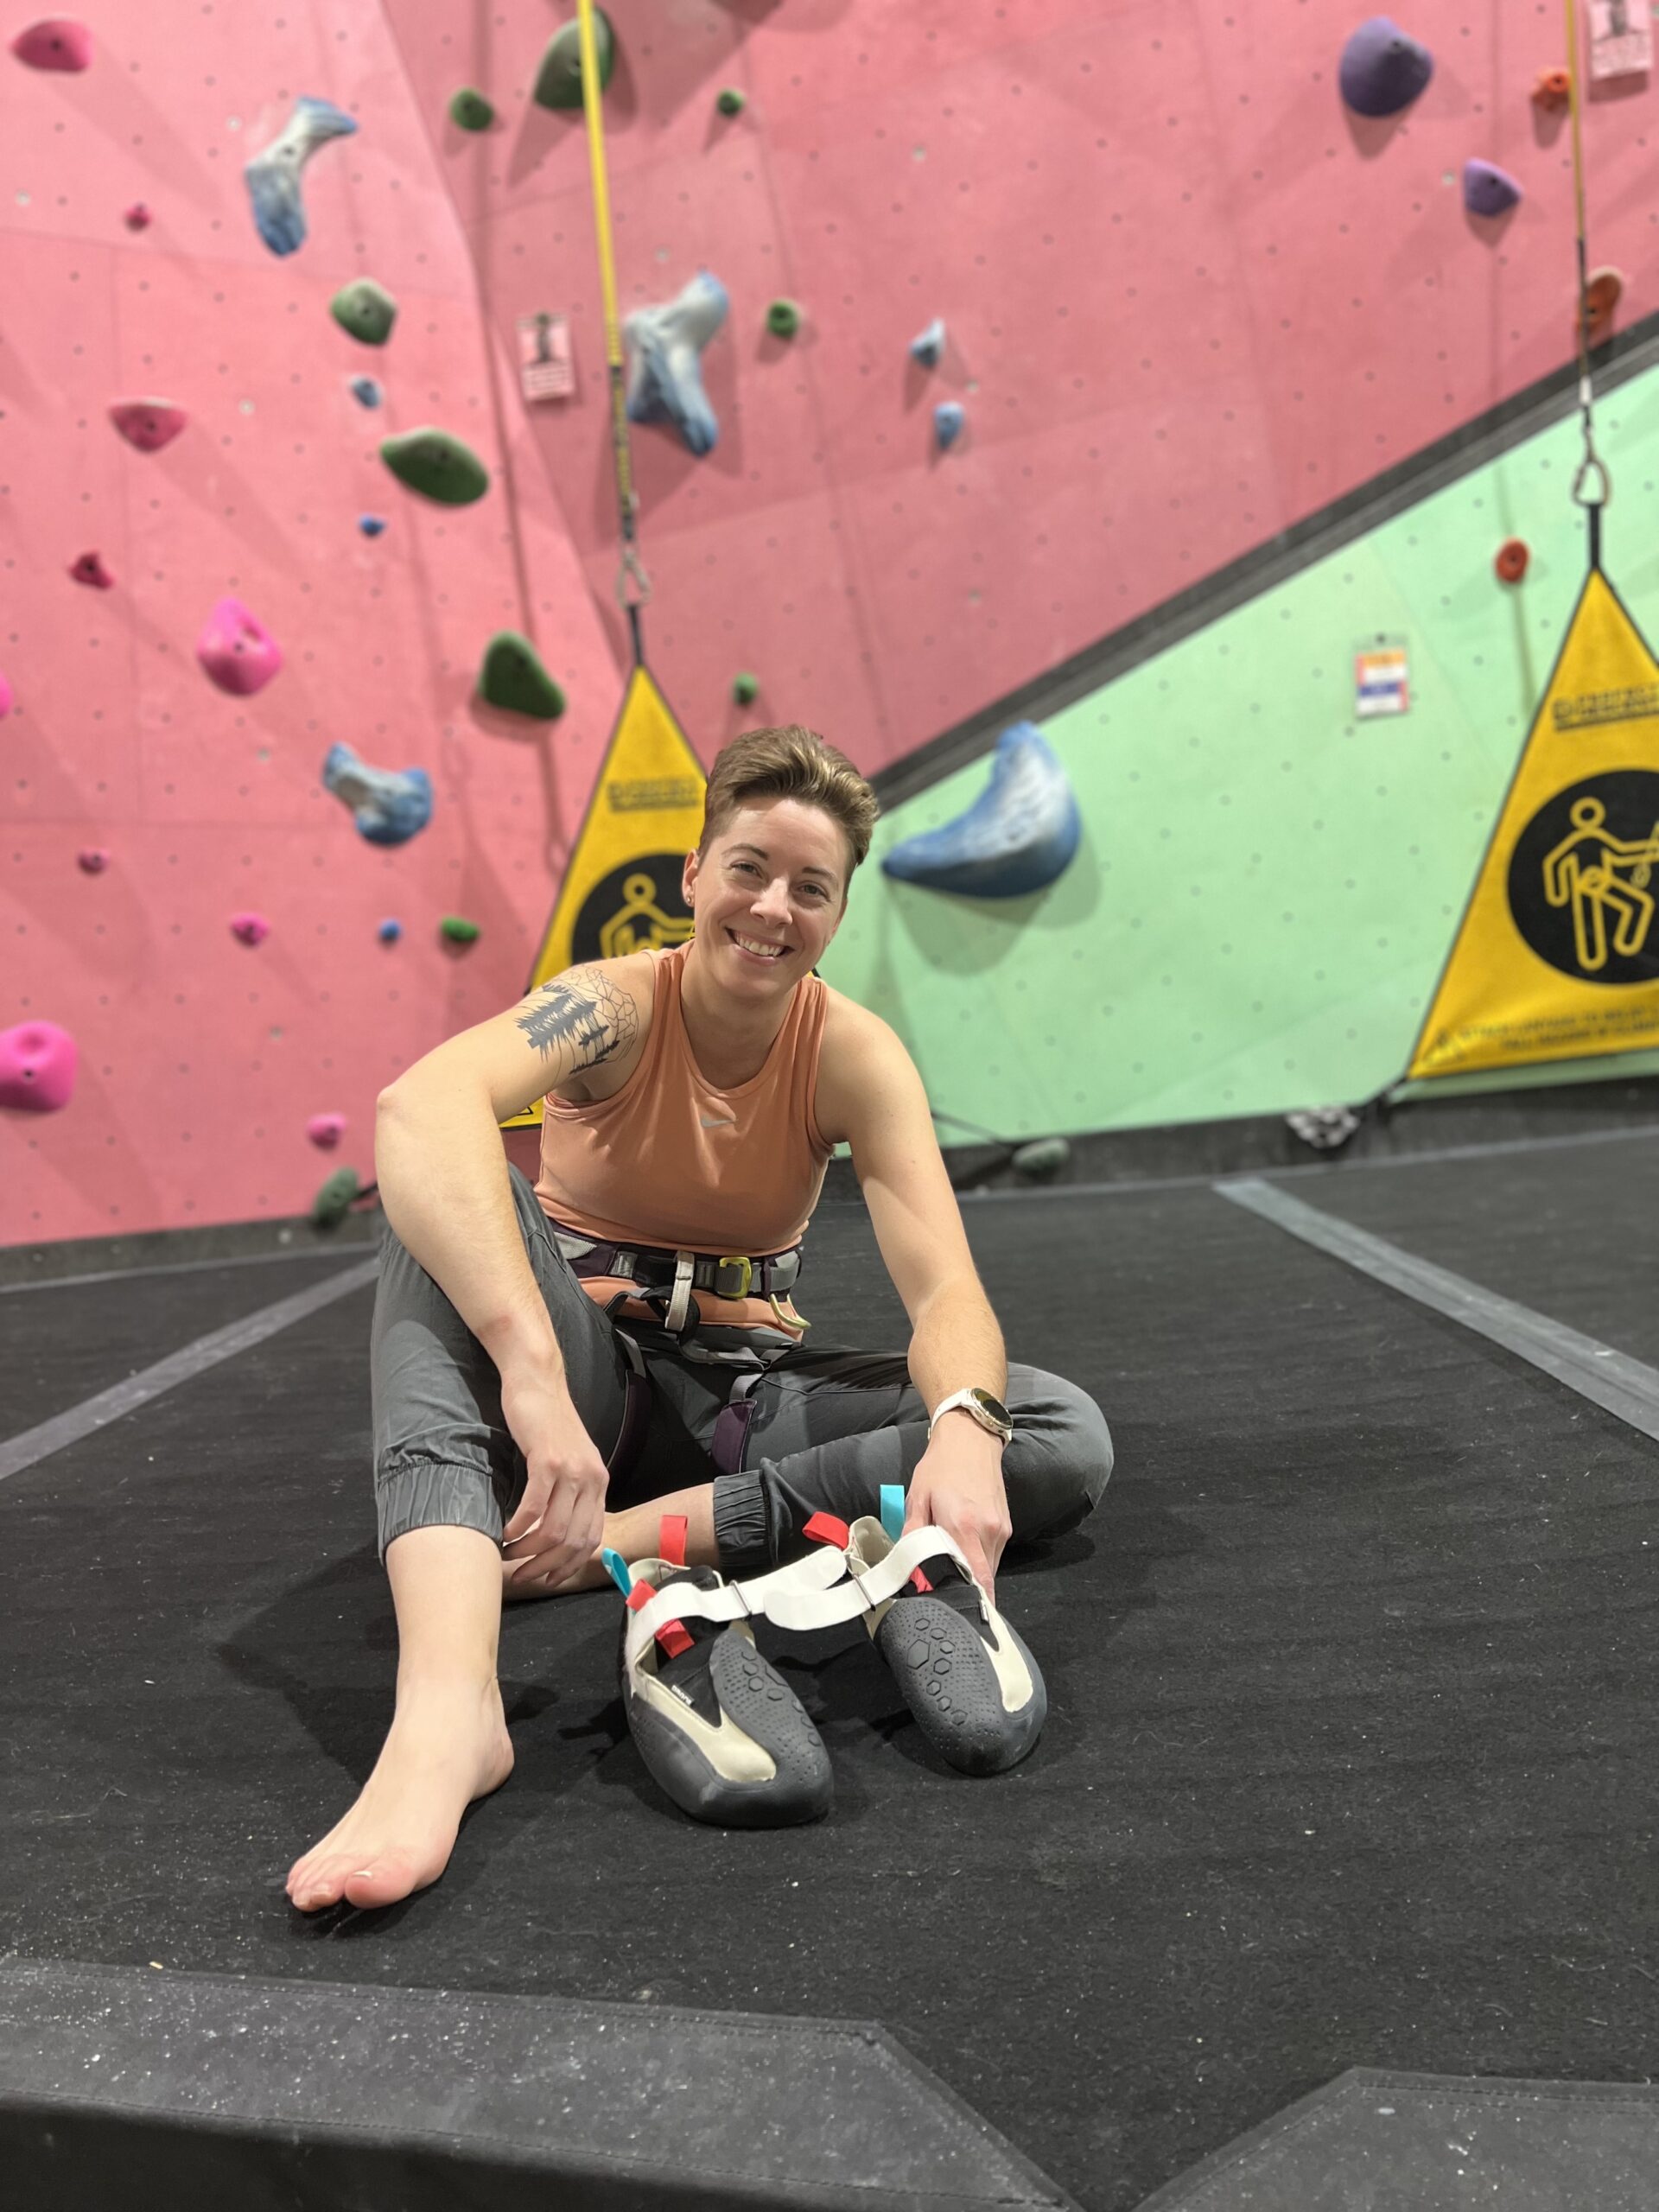
Most mid to advanced climbing shoes are built to hold your foot in an arched position, which usually means sizing down so the heel cup fits right. That sizing plus the arched shape makes aggressive shoes uncomfortable to wear for long stretches.
Since most trad involves multi-pitch routes and jamming your feet into cracks, comfortable shoes are the way to go.
Shoes with a neutral profile (flat, not downturned) that fit snug but don’t hurt are ideal. Some climbing shoes add material around the ankle for extra support and comfort, and that padding usually keeps you from scraping your ankles while jamming your feet in cracks.
16. Wear a helmet
I don’t see this come up much in trad forum threads, which is wild, because it can’t be overstated in trad: wear a helmet.
The odds of rock breaking or popping out under the load of gear are much higher than in sport climbing (where you should also wear a helmet), so you and your belayer both need one on.
Climbing helmets are built specifically with falling rock in mind, so make sure you’re using a climbing-specific helmet and not a bike helmet.
17. Use a guidebook your first time on a route
Figuring out the beta yourself is one of the fun challenges of climbing. But for your first few times leading trad, it helps to already have a sense of where the gear goes.
In sport climbing it’s pretty easy to spot the next bolt, so you know the general direction to head. In trad, the only cues for where to place gear are your gut (which comes from experience) or a guidebook that recommends where to place and what to use.
Some climbers feel like using a guidebook is cheating, but when you’re new to trad it’s more important to focus on the climbing and the placements than to pile on the stress of guessing where good gear goes.
If you want to keep sharpening your movement between trad days, I put out a free weekly newsletter with one short climbing drill you can do in about 15 minutes. Grab the free weekly drills here and level up your climbing without adding a bunch of time to your week.
Frequently asked questions
What’s the most important trad climbing advice for new trad climbers?
Learn from a certified guide or a very experienced partner before you lead, climb well within your skill level, and get comfortable placing and testing gear on the ground before you trust it on the wall. Wearing a helmet and reading the direction of possible falls round out the basics.
Should new trad climbers use cams or nuts for a multi-directional piece?
Cams are more multi-directional because a well-placed cam can rotate in the crack and stay seated when the load direction changes. If you prefer nuts, you can place two in opposition to get a similar multi-directional hold. Just watch that a cam doesn’t walk out of a flaring or non-parallel crack.
How do I avoid zippering when I fall on trad gear?
Place a multi-directional piece early, keep the rope running as straight as possible by extending draws with slings when the route wanders, and read where a fall would actually pull each piece. Those habits keep the force on your gear mostly up and down instead of yanking pieces sideways.
Is it cheating to use a guidebook for gear placement?
No. When you’re new to trad, a guidebook that suggests where to place gear and what sizes to use lets you focus on the climbing and the placements instead of guessing. As you build experience, you’ll lean on your gut more and the book less.
Do I really need a guide or mentor to start trad climbing?
For safety, yes, get hands-on mentorship. Trad has real ground-fall consequences, and a certified guide or seasoned trad partner can catch bad placements and habits before they hurt you. Articles like this are a great supplement, but they don’t replace someone watching your gear in person.