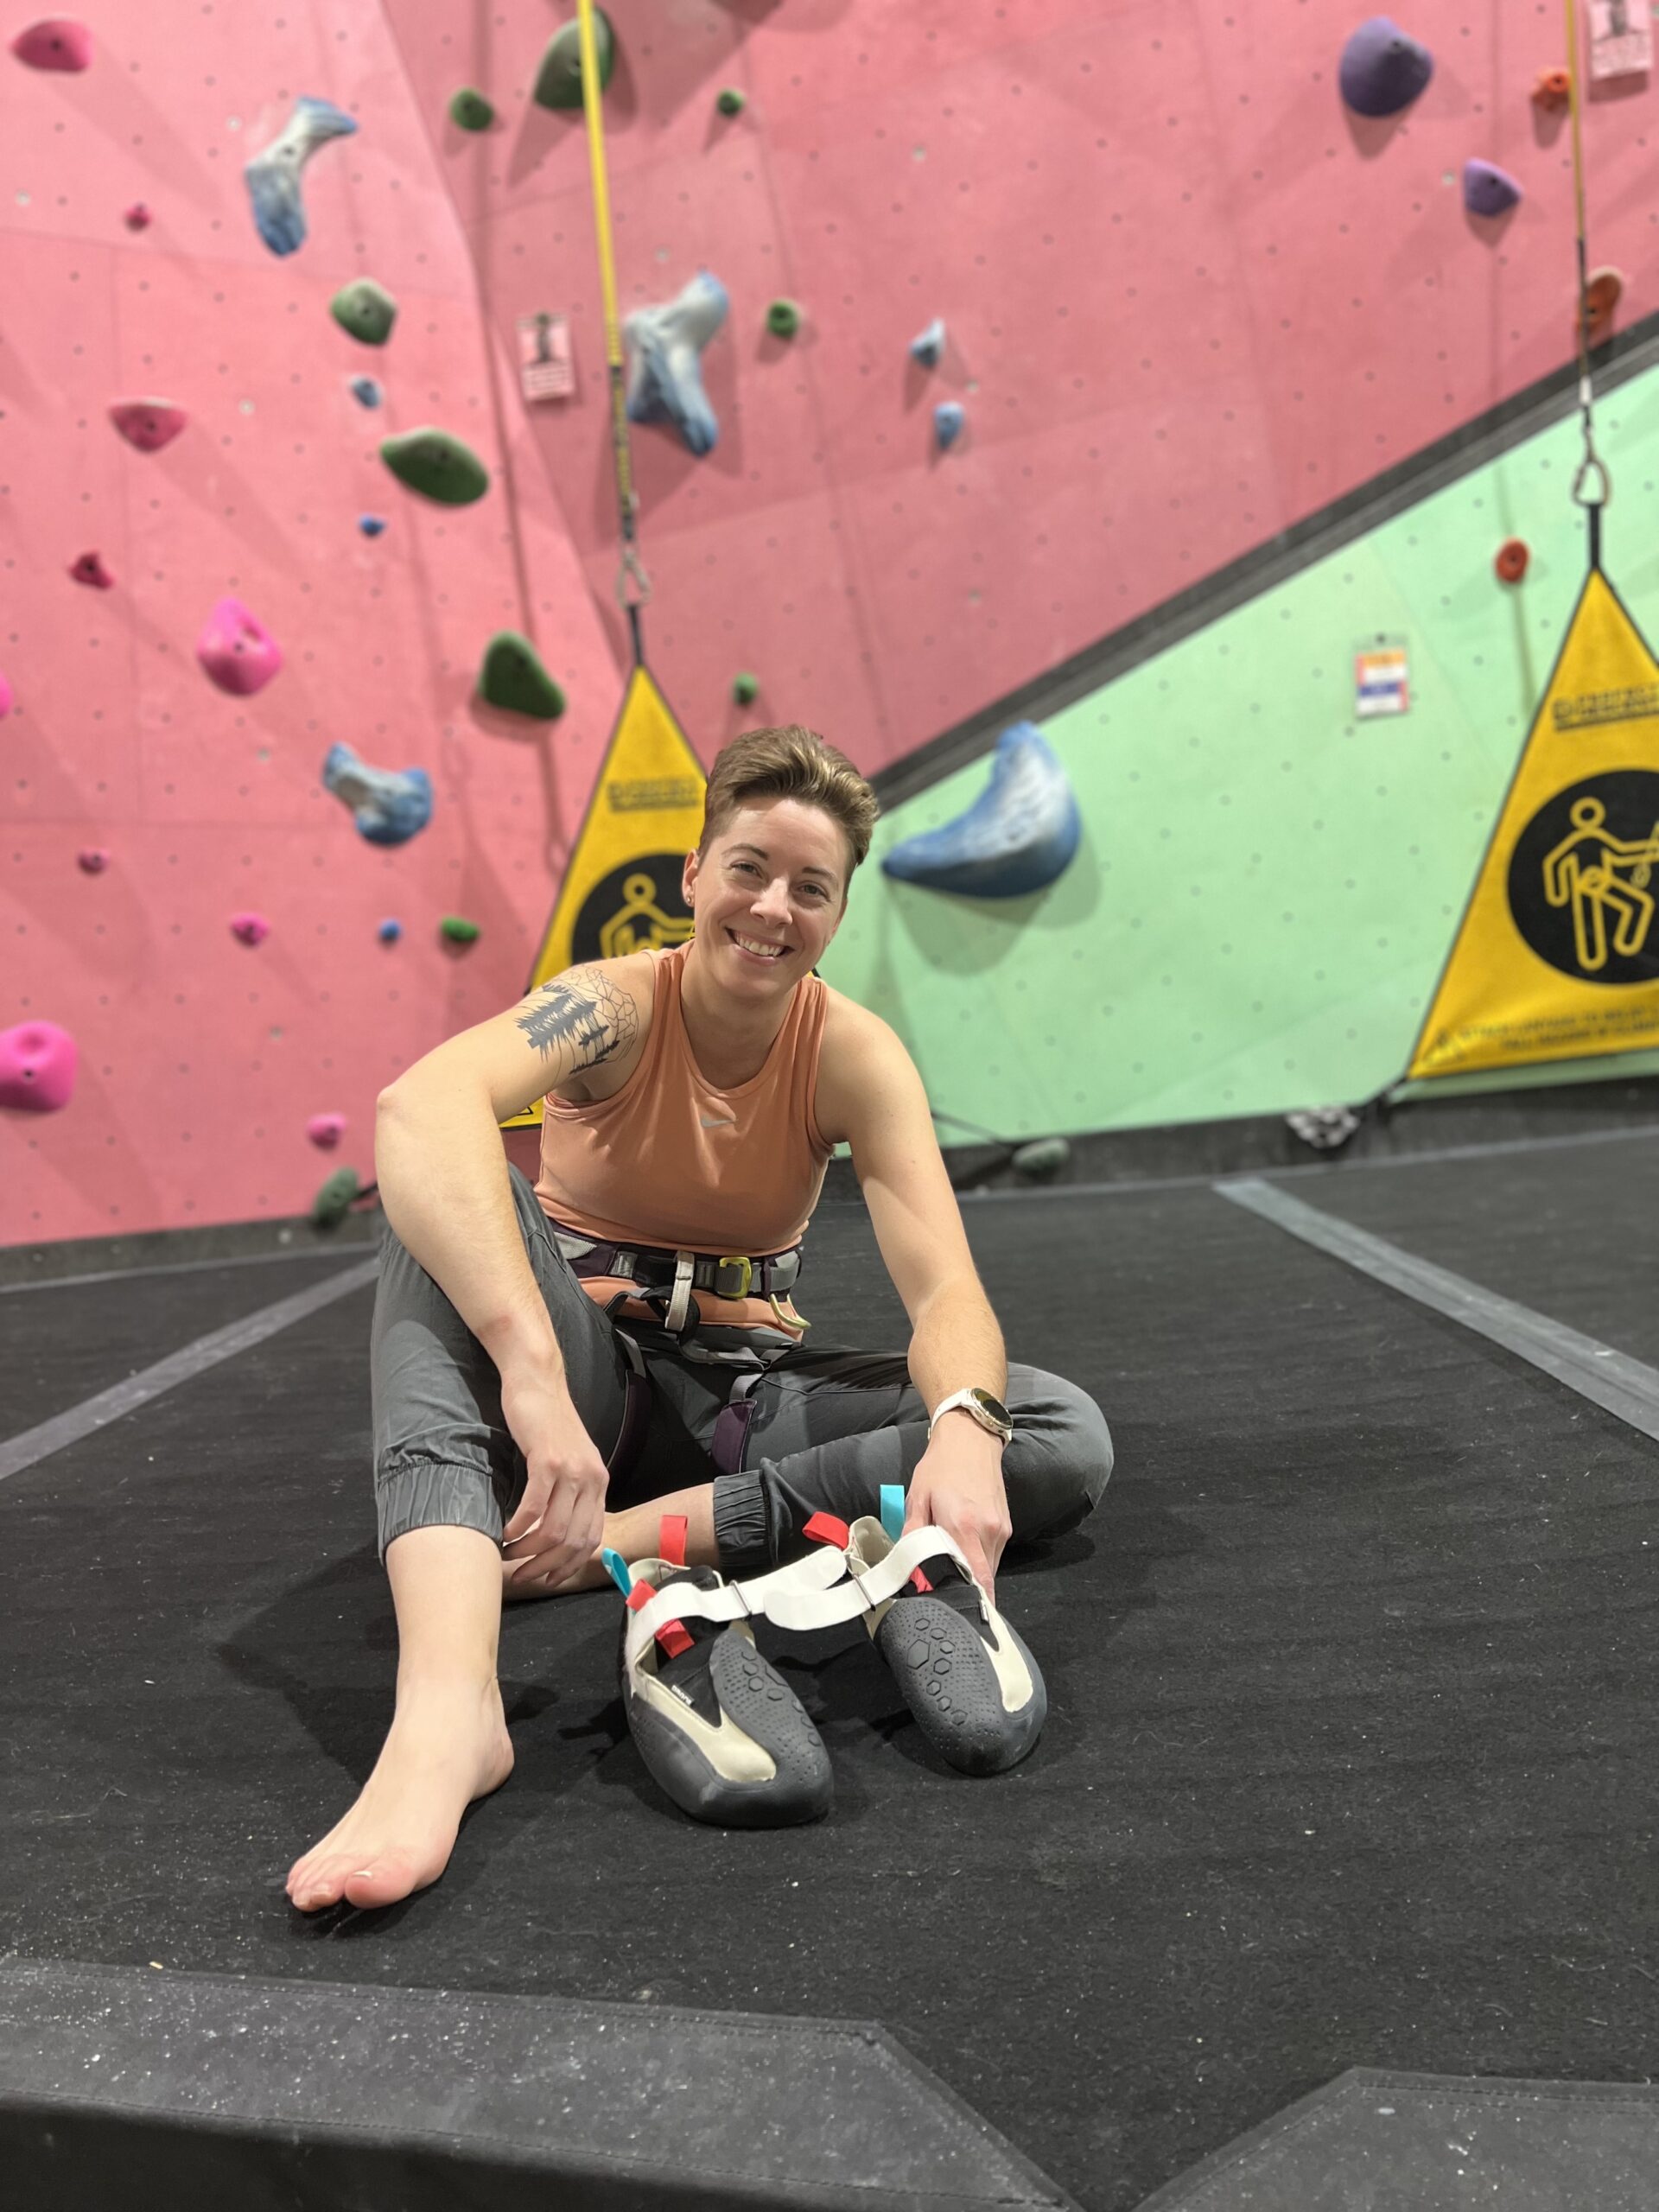
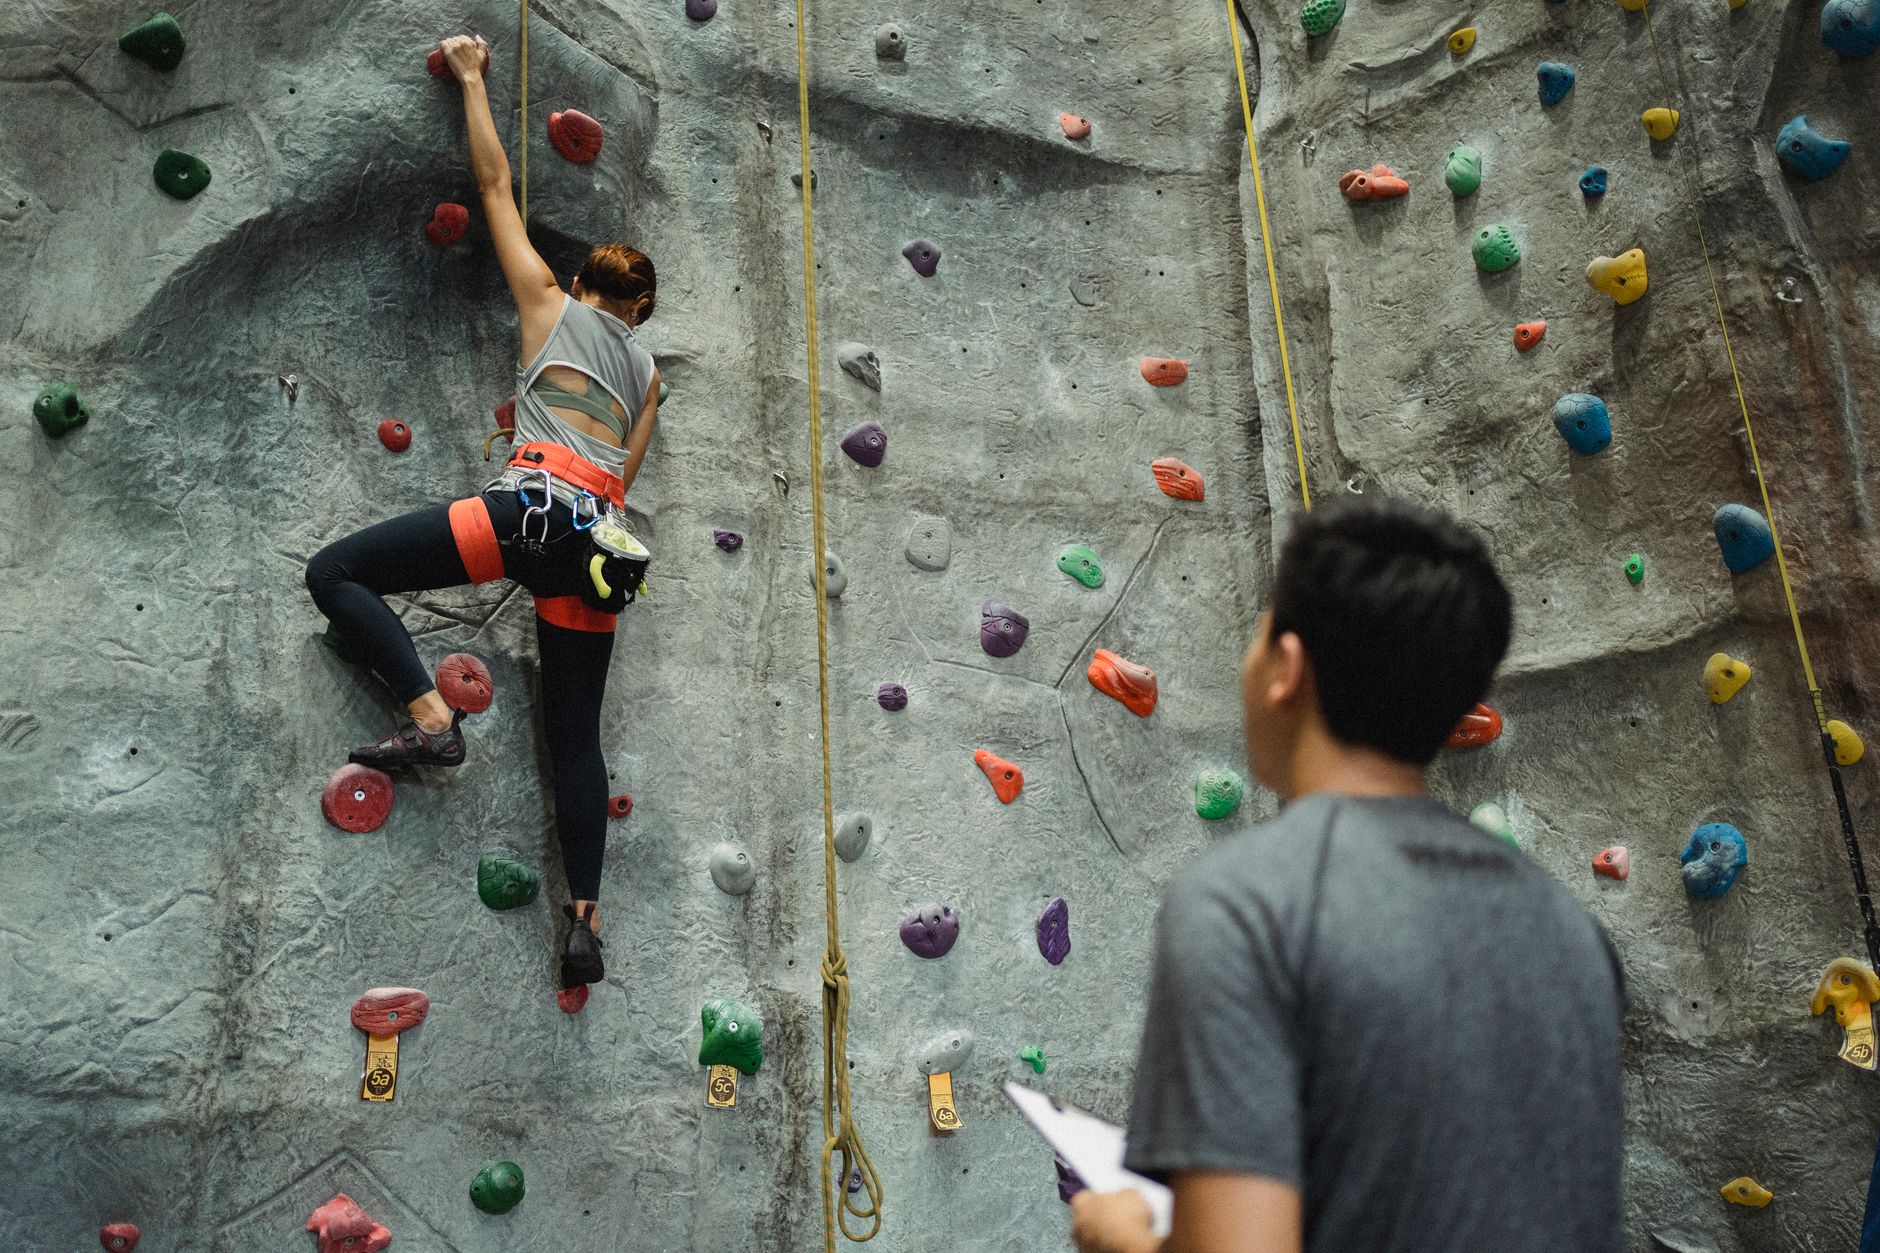
Ever feel like you’re climbing all the time but not actually getting better?
You show up to the gym, you try hard, maybe you even work a project or two. Then weeks or months later it feels like you’re stuck at the same level. Sound familiar?
Climbing progress isn’t always obvious. Some of the gains that matter most, like better footwork, more efficient movement, or more endurance, are a lot harder to see than just sending a harder grade. If you don’t track climbing progress like this, it’s easy to feel like you’re going nowhere.
That’s why learning to track climbing progress is one of the most useful habits you can build. When you start logging your sessions, reviewing video, and measuring the small wins, you get real proof that you’re getting better, even on the days it doesn’t feel like it.
As a climbing coach, I’ve watched a simple tracking system help climbers push through plateaus, clean up their technique, and stay motivated. In this post I’ll walk you through the best ways to track your climbing progress so you can actually see and measure it. Let’s get into it.
Step 1: Define what progress means to you
Before you can track progress, you’ve got to decide what progress actually looks like for you. A lot of climbers assume it only means climbing harder grades, but that’s just one piece of the puzzle. Improvement shows up in a bunch of ways, and tracking more than one of them keeps you motivated and helps you make smarter training calls.
What does progress look like?
Climbing progress isn’t just about grades. Here are some different ways to measure it:
✅ Climbing harder grades to send higher-level problems or routes.
✅ Sending projects faster by finishing climbs in fewer attempts.
✅ Improving technique with smoother movement, better footwork, or more efficient positioning.
✅ Building endurance so you last longer on routes before you get pumped.
✅ Getting stronger with more grip strength, more pull-ups, or longer hangboard times.
✅ Gaining confidence and feeling more comfortable on lead, in the gym, or outside.
📌 Why it matters:
If you only measure success by sending harder grades, you’ll miss the signs that show you’re getting stronger, moving better, and climbing more efficiently.
How to set a clear progress goal
To make tracking useful, decide what progress means to you right now. Try setting a specific focus for the next few months:
Example goals:
❌ “I just want to get better.” That’s too vague.
✅ “I want to send my first V5 in the next 8 weeks by improving my footwork and core strength.”
✅ “I want to lead climb at least once per session for the next month to build confidence.”
Pro tip: Writing down 1 to 2 key focus areas makes your tracking more meaningful and keeps you motivated.
What to do next
➡️ Write down your current goal. What part of your climbing do you want to improve?
➡️ Choose a way to measure it. Will you track grades, attempts, technique, endurance, or confidence?
➡️ Keep it realistic and time-bound. Set a goal for the next 4 to 8 weeks and adjust as you go.
Once you’re clear on what progress means for you, you can track it more effectively and celebrate the wins that matter. If your goal is jumping a grade band, our guide to the neglected techniques for V4 to V5 progression is a good place to point that focus.
Step 2: Log your sessions to track climbing progress over time
Once you know what progress looks like for you, the next step is to log your climbing sessions consistently. Without a log, it’s easy to forget what you worked on, miss the small improvements, and feel stuck even when you’re not.
The goal is a simple system that helps you spot patterns, track improvements, and make better training decisions.
What to track in your climbing log
✅ Routes and grades. What problems or routes did you try? What did you send?
✅ Attempts and progress. Did you flash it, send it in a few tries, or work the moves?
✅ What felt easier or harder? Note whether a crux that used to shut you down finally went, or a move felt smoother.
✅ Any drills or training focus. Did you work on footwork, endurance, or strength?
✅ How you felt that day. Strong, pumped, tired, or a little mentally off?
📌 Why it matters:
- Helps you see trends over time, so you know what’s improving, what’s stalling, and what needs more focus.
- Lets you make smarter training decisions based on what’s working.
- Helps you celebrate small wins instead of only chasing big sends.
How to make logging easy
A quick, structured way to log your progress is all it takes:
Option 1: A climbing journal (best for paper tracking)
- Use a notebook or planner to jot down the key session details.
- Keep it simple. Bullet points work great.
Option 2: Notes app (quick and digital)
- Build a template in your phone’s notes app and log your climbs after each session.
- Easy to update, search, and look back on later.
Option 3: My Elevate Your Climbing: Training Planner and Tracker
- Built specifically for climbers to track progress, set goals, and stay consistent.
- Helps you track both sessions and long-term progress in one place.
- [Grab your copy here!]
What to do next
➡️ Choose a logging method that works for you. Paper journal, notes app, or a climbing planner.
➡️ Commit to logging after every session. Even quick notes make a difference.
➡️ Review your logs weekly to spot patterns in your improvement.
Log your sessions and you’ll start to see real progress, catch the areas you need to work on, and stay a lot more motivated as you climb.
Step 3: Use video to track your technique and movement
Writing things down helps, but seeing yourself climb is one of the best ways to catch what to fix. Most climbers have no idea how much they’re over-gripping, rushing moves, or missing their feet until they watch it back on video.
Film your climbs regularly and you can break down your movement, track improvements, and clean up your technique a lot faster.
What to look for in your climbing videos
✅ Footwork. Are you placing your feet smoothly, or are they slipping and shuffling?
✅ Body positioning. Are your hips close to the wall, and are you flagging and twisting efficiently?
✅ Grip efficiency. Check whether you’re over-gripping holds and whether you could relax your fingers more.
✅ Resting and breathing. Are you using the rests, or climbing too rushed?
📌 Why it matters:
- You’ll spot technique mistakes that aren’t obvious in the moment.
- Comparing older videos shows you real progress over time.
- Watching yourself climb builds self-awareness, so you make adjustments faster.
How to use video for climbing progress
🎥 Film yourself once a week. Pick a route or problem you’re working on.
🎥 Watch it right after you climb. Look for the small adjustments you could make.
🎥 Compare footage monthly. Watch older clips to see how your movement, control, and efficiency have changed.
🎥 Slow the playback down. Notice foot placements, hand adjustments, and body positioning.
Pro tip: use video to refine your training
If you keep seeing the same movement mistake, pick a drill to fix it. For example:
- If your footwork is messy, run the Silent Feet drill and a few other footwork drills for climbing.
- If you’re climbing too square, work on flagging and hip positioning.
- If you hesitate before committing to moves, practice the One-Touch Rule drill.
If you’d rather have the right drill picked for you based on what your video shows, the Grip & Grind app builds short movement sessions around the habits you’re trying to fix.
What to do next
➡️ Record one climb per week and review your movement.
➡️ Make one adjustment based on what you see.
➡️ Compare footage every few weeks to track your technical progress.
Bring video into your routine and you’ll catch inefficiencies, make adjustments on the fly, and clean up your technique faster than ever.
Step 4: Track strength and endurance gains, not just grades
A lot of climbers only look at harder grades to measure progress, but that’s not the only sign you’re improving. Strength and endurance gains usually show up before the grade jumps, and tracking them lets you see progress even when your sends are flat.
Track your physical gains and you’ll stay motivated, plus you’ll have a better read on when you’re ready to push into harder climbs.
What strength and endurance gains look like
✅ Grip strength. Can you hang on smaller holds for longer?
✅ Pulling strength. More pull-ups, stronger lock-offs, better control on big moves?
✅ Endurance. Can you climb longer before you get pumped, and send more routes per session?
✅ Mobility. Can you high-step more easily? Are your drop knees and flexibility improving?
📌 Why it matters:
- Even if your grades haven’t moved, strength and endurance gains show you’re improving.
- Tracking these keeps frustration down when progress isn’t immediately visible.
- Knowing your strengths and movement limiters helps you train smarter.
How to track strength and endurance progress
📝 Grip strength: record hangboard times, max dead hangs, or the smallest edge you can hold.
📝 Pulling strength: track pull-up reps, weighted pull-ups, or one-arm hangs.
📝 Endurance: count how many climbs you get per session before fatigue. Our guide to climbing endurance has more ways to build and measure it.
📝 Mobility: log flexibility benchmarks like high steps, hip rotation, or toe-hook comfort.
Pro tip: check your baseline and reassess monthly
🚀 Record a baseline test, like max pull-ups, max hang time, or number of climbs before you’re cooked, then reassess every 4 to 6 weeks. Watching those numbers climb is a huge confidence boost. Not sure you’re ready to load your fingers yet? Read when to start hangboarding for bouldering first.
What to do next
➡️ Choose 1 to 2 physical areas to track (strength, endurance, or mobility).
➡️ Log your baseline numbers today.
➡️ Reassess every month to see steady gains, even if your grades don’t change.
Track your strength and endurance and you’ll have more proof that you’re improving, which keeps your motivation high and helps you train smarter.
Step 5: Review your progress monthly and adjust your focus
Tracking your sessions is great, but the progress happens when you use that info to adjust and improve. If you never look back at your logs, videos, or strength data, you’re missing the insights that help you climb smarter and break plateaus faster.
Review your progress once a month and you’ll spot trends, celebrate improvements, and sharpen your training focus.
How to review your climbing progress
✅ Look for patterns in your logs. Look at whether certain moves or route types are improving, and whether any struggles keep showing up.
✅ Compare recent video footage. Has your footwork, balance, or efficiency improved?
✅ Check strength and endurance gains. Longer hang times, more pull-ups, better route endurance?
✅ Assess your mental game and confidence. More comfortable on lead? Less hesitation on big moves?
📌 Why it matters:
- Reviewing your logs shows you what’s working and what’s not.
- Spotting movement limiters lets you adjust your training focus.
- Celebrating small wins keeps motivation high and frustration low.
How to adjust your training based on progress
📝 If you’re plateauing on grades, focus on drills and movement efficiency instead of just trying harder climbs. These common climbing mistakes are a good place to check first.
📝 If endurance is holding you back, add more volume-focused sessions or ARC training.
📝 If footwork is inconsistent, prioritize footwork drills like Silent Feet for a few weeks.
📝 If strength isn’t improving, adjust your hangboard or pulling routine.
Pro tip: set a monthly progress check-in
🚀 At the end of each month, review your logs and videos and ask:
- What’s improving?
- What’s still a struggle?
- What’s my focus for next month?
Set aside just 10 minutes for a progress review and you’ll make more informed training decisions, stay motivated, and improve faster.
What to do next
➡️ Schedule a monthly check-in to review your logs, videos, and progress notes.
➡️ Adjust your training plan based on what’s working and what to work on.
➡️ Celebrate the small wins and keep moving forward.
Review and adjust your training consistently and you’ll make faster, smarter progress, and climbing will feel even more rewarding.
Tracking means faster progress and more motivation
Climbing progress doesn’t happen overnight. But when you track your sessions, measure the small wins, and adjust your training, you improve faster and more consistently.
✅ Define what progress means to you. Grades, endurance, technique, confidence?
✅ Log your sessions so you can see patterns and improvements over time.
✅ Use video tracking to refine technique and drop bad habits.
✅ Track strength and endurance gains so you see progress beyond just sending harder grades.
✅ Review monthly and adjust your focus to break through plateaus faster.
🚀 Stop guessing and start tracking to improve the fastest. Small, consistent efforts add up to huge progress over time.
📬 The free Send Edition newsletter sends the drills to work on straight to you, dropping one climbing drill a week, about 15 minutes each, so you always have something specific to track. It’s the easiest way to keep your sessions pointed in the right direction.
💡 My Elevate Your Climbing: Training Planner and Tracker is built to help you log sessions, set goals, and stay consistent, so you can easily track your climbing [check it out here]
👉 Let me know in the comments how you track your climbing!
Frequently asked questions
How do I start tracking my climbing progress?
Start by deciding what progress means for you right now, whether that’s a grade, better footwork, more endurance, or more confidence. Then log every session, film yourself once a week, and note your strength and endurance numbers. Once a month, review it all and adjust your focus. You don’t need anything fancy to begin, just a notebook or your phone’s notes app.
How often should I review my climbing progress?
Do a quick log review weekly to catch patterns, then set a longer check-in once a month. In the monthly review, compare your recent video to older clips, check your strength and endurance numbers, and pick one focus for the next 4 to 6 weeks. Ten minutes is enough to make it worthwhile.
Do I need an app to track climbing progress?
No. A paper journal or a notes-app template works great for logging sessions. If you want more structure, a climbing planner or a movement app like Grip & Grind can help you organize goals and drills, but they’re optional. The habit of logging matters far more than the tool.
What should I track besides grades?
Track technique (footwork, body positioning, grip efficiency), endurance (climbs per session before you pump out), strength (hang times, pull-ups, lock-offs), mobility (high steps and flexibility), and confidence on lead or on big moves. These often improve before your grades do, so they’re proof you’re getting better even when your sends look flat.
How do I use video to track my technique?
Film one climb a week on a route or problem you’re working on, then watch it right after you climb and look for small fixes. Compare footage monthly to see how your movement and efficiency have changed, and slow the playback down to study foot placements and body positioning you’d miss in real time.
Where this fits in your training
Tracking tells you what is working. A plan decides what to try next. The Climbing Training Hub shows how tracking, rest, drills, and strength fit together, and which one to fix first.