
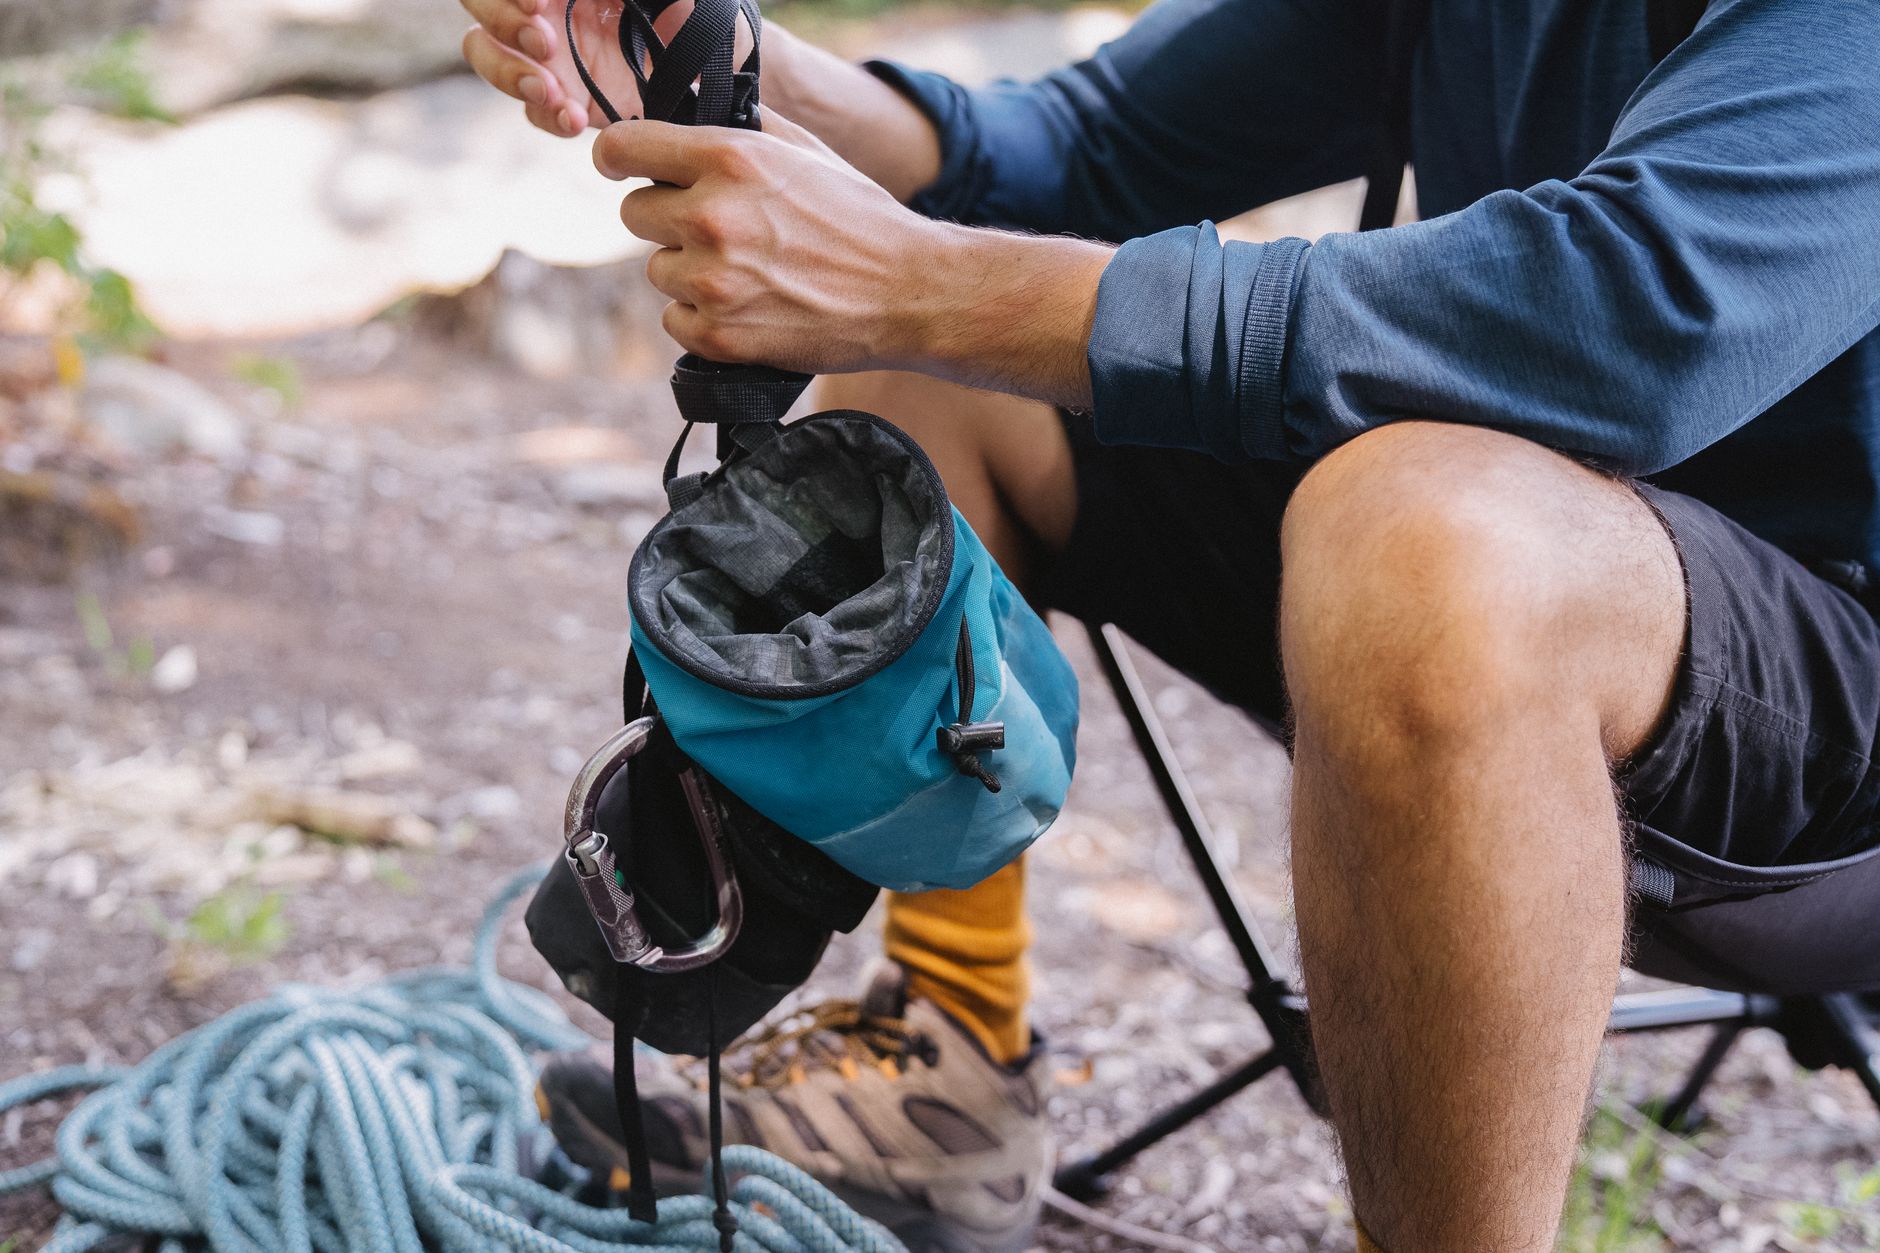
Your rope hits the ground at the base of the route and within two minutes it’s a bird’s nest. Sand in the sheath, a kink nobody wants to lead on, and your belayer’s already asking why flaking is taking so long. Most of that mess traces back to one thing: no rope bag, or a rope bag that isn’t doing its job.
A good climbing rope bag solves two separate problems: keeping your rope clean while you’re climbing, and keeping your gear organized on the hike in. Miss either one and you’ll notice it, usually at the worst moment.
What a climbing rope bag actually does
Strip away the marketing and a rope bag is really just two things: a tarp (sometimes called a ground sheet or burrito) that unfolds flat so your rope never touches dirt, and a bag that keeps that tarp, your rope, and your rack separated from each other during the approach.
I’ve gone through a few rope bags over the years, and what actually moves the needle for me is simple: does it keep my rope organized and clean while I’m climbing, and does it keep everything together while I’m hiking to the crag. If a bag does both of those things, I’m happy with it.
My first rope bag nailed that part. It had a tarp for keeping the rope off the dirt and a dedicated pocket for the rope, separate from quickdraws and hardware. What it didn’t have was padding on the shoulder straps. I used it for a long time anyway, because the core function was there. Then I saw a bag with real cushioned shoulder straps and a waist strap to shift the weight onto my hips instead of my shoulders, and I switched. Worth every extra dollar. On a 40 minute approach with a rack and a rope, that waist strap is the difference between a comfortable hike and a sore back before you’ve even racked up.
What to look for in a climbing rope bag
- A tarp that actually lays flat. If it bunches up or slides around when you step on it, your rope is still picking up grit.
- A separate compartment for the rope. You don’t want your rope sharing space with nuts, cams, and biners. Metal-on-rope contact over a season will shorten the life of your sheath.
- Padded shoulder straps and a waist strap. Fine for a five minute walk to the crag. Not fine for anything longer, and your shoulders will tell you about it by pitch three.
- A closure that keeps the whole thing contained. Drawstring, roll-top, or zip, just make sure it actually cinches shut so the tarp doesn’t flop open on the trail.
- Rope capacity that matches your cord. A 70m rope stuffed into a bag built for 60m is a bag that won’t close right and a tarp that won’t lay flat.
Rope bags at different budgets
You don’t need to spend a lot to get the core function right, but what you get at each price point does change.
Budget end: At the lower end you’re usually getting a basic tarp and a simple drawstring bag with unpadded straps. This is perfectly fine if your approach is short and flat, or if the rope bag is a secondary bag you’re carrying along with a proper pack. It handles the “keep the rope clean” job well. It’s the “carry this comfortably for a mile” job it struggles with.
Mid-range: This is where you start seeing some shoulder padding, a rope compartment that’s actually separated from a gear pocket, and a tarp with reinforced corners so it doesn’t tear after a season of being dragged over rock. For most weekend crag climbers, this tier is the sweet spot. It’s where I landed after my first bag.
Higher end: At the top you get a real backpack-style harness system, a padded hip belt, external straps for a helmet or rope separately, and burlier fabric that shrugs off approach shoes with crampon spikes or sharp talus. If you’re hiking long multi-pitch approaches or you’re out several days a week, that extra investment in comfort pays for itself fast. It’s the same logic as picking the best climbing shoes for your style of climbing: spend where it actually changes how your day feels, not just where the price tag is highest.
How to use a rope bag at the crag
Unroll the tarp flat before you flake, not after. If you wait until the rope is already a pile on the ground, you’re just moving a mess onto fabric instead of preventing one.
Flake the rope directly onto the tarp in a loose pile, feeding it hand over hand so you can feel for kinks before they become your lead belayer’s problem. When you’re done climbing, stack the rope back into the bag itself (most have a dedicated rope sleeve) rather than just coiling it loose on top of the tarp. That keeps it from tangling on the walk out and means next time you unpack, the rope feeds out the top without fighting you.
If the ground’s wet or sandy, fold the edges of the tarp up and over the rope ends before you cinch the bag shut. Rope sheaths pick up grit fast, and grit is what eventually wears through a sheath from the inside.
Common mistakes
The biggest one: buying a rope bag and never actually using the tarp, just tossing the rope loose on top of it. The tarp only works if the rope lands on it, not next to it.
Second: cramming hardware into the same pocket as the rope. A biner or a cam against the sheath for an entire approach hike wears it down slowly, and you won’t notice until the rope starts feeling fuzzy in one spot.
Third: ignoring the shoulder straps when you buy. A bag that’s fine for a flat five minute walk from the parking lot falls apart (literally, on your shoulders) on a real approach trail with elevation gain.
FAQ
Do I need a rope bag for bouldering?
No. This is one of the clearer differences between rock climbing vs bouldering: bouldering doesn’t use a rope at all, so a rope bag only matters once you’re climbing roped routes, sport or trad.
Can I just use a regular stuff sack instead?
You can, but you’ll lose the tarp. A stuff sack keeps the rope contained, but it doesn’t give you a clean surface to flake onto, so your rope still picks up dirt and grit at the base of the climb.
Does the waist strap actually matter?
If your approach is longer than a few minutes, yes. Shifting the weight of a rope and rack onto your hips instead of your shoulders makes a real difference over a 30 to 60 minute hike in.
How often should I replace a rope bag?
When the tarp starts tearing at the corners or the closure won’t cinch shut anymore. The fabric and straps can last years with normal crag use, it’s usually the tarp that wears out first.
Can a rope bag double as my approach pack?
For a short approach, often yes, as long as it has room for a water bottle and a light layer. For longer or multi-pitch approaches, most climbers carry a separate pack and use the rope bag just for the rope and tarp once they’re at the base.