
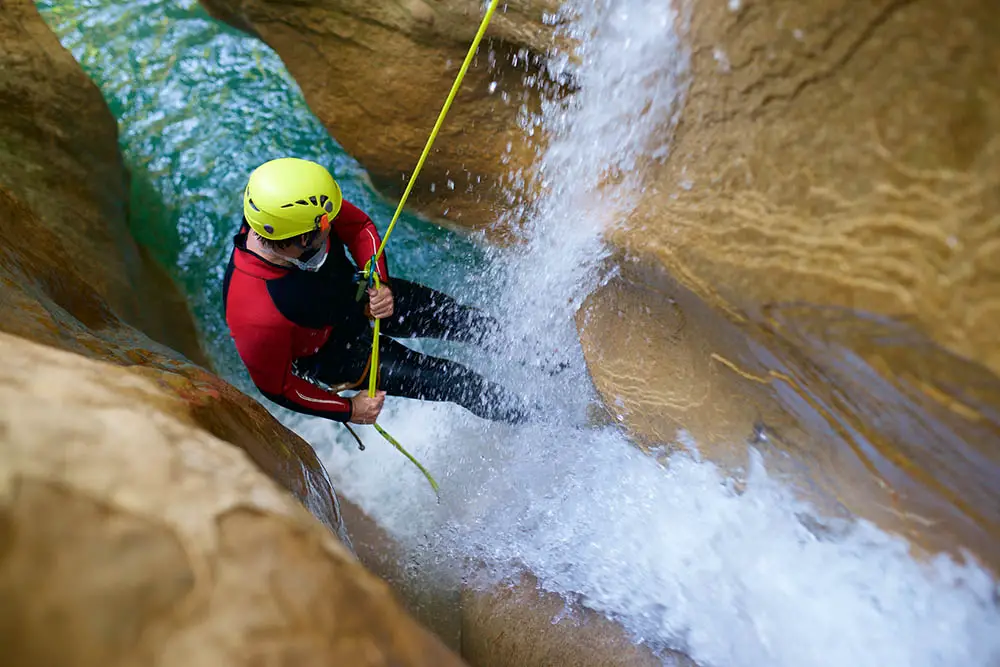
I’ve done a lot of rappelling over the last few years, and it got me curious about the different types of rappelling out there, so I dug into it.
The most common types of rappelling are the standard rappel, the Australian rappel, the tandem rappel, the military rappel, and the free rappel. The biggest difference between them comes down to how the belay device is rigged into the system and which way you’re facing while you descend. The standard rappel is the safest and the one most people recommend. The military rappel is usually the most dangerous, and it’s really only used in emergencies.
Since the standard rappel is the one most folks consider safest, that’s the one I’d point you toward, and only after you’ve gotten hands-on instruction from a pro. That said, you might be thinking about learning another style, or you might just want to know how they stack up. That’s what this article is for. I walk through the most common types of rappelling and share what makes each one tick so you can make a smarter call as you keep at it. If you’re still weighing risk, it’s worth reading up on what the safest way to rappel actually looks like before you leave the ground.
The different types of rappelling, compared
Every one of these types of rappelling gets you down the rope, but they don’t feel the same and they don’t carry the same risk. A few keep you upright and facing the wall where you can watch your device. Others spin you around or cut you loose from the rock entirely. Below I break down each one with the honest pros and cons so you can see where it fits. If you want reps before you trust any of them on real rock, here are 5 ways to practice rappelling safely.
► Beginners Guide To Rappelling
Standard Rappel
The standard rappel is the type most instructors recommend. It’s used all over the world by canyoneers, climbers, and recreational rappellers. What sets it apart from the others is that you’re in a seated position facing the wall, and your belay device sits right in front of you where it’s easy to reach and easy to watch.
Pros of the standard rappel:
- Facing the wall with your feet on it makes it simple to keep a good body position.
- Because of that orientation, you can run an assisted-braking device like the Grigri, which gives you more speed control and some peace of mind if you ever let go of the rope. We walk through that setup in how to self rappel with a Grigri.
- It also leaves room for backups like a prusik knot for a safer descent.
- It’s the easiest style to have a backup belayer at the bottom in case the rappeller needs a hand.
Cons of the standard rappel:
- It usually takes a bit longer to reach the bottom.
- Since the rope end sits behind you, you’re unlikely to spot it running out before it feeds through your device. That’s why it’s so important to tie a stopper knot in each end of the rope.
Australian Rappel
The Australian rappel is one of the fastest styles, and it takes real training and experience to do it safely. To move that fast, the rappeller stands facing the ground. With the belay system off to the side and behind them, they basically run down toward the ground as quick as they can. This isn’t a safe pick for most people, and it should only come after plenty of time on the standard rappel plus specific instruction.
Pros of the Australian rappel:
- Because it’s so fast, you can get a lot of rappelling done in a single day.
- It lets you look at the ground, which helps for military work or just spotting animals and nasty plants like cactus at the bottom.
- People who do it recreationally tend to say it’s the most fun and exhilarating way to get down.
Cons of the Australian rappel
- With the device around your back, it’s more likely to grab hair or clothing.
- Your body position also raises the risk of coming out of your harness.
- If you fall, you’re facing forward, and that brings a pile of problems. Your spine isn’t built to bend backward much, so you’re more likely to break bones, damage organs, or hit your face.
Tandem / Simul Rappel
A tandem rappel, also called a simul-rappel, works a lot like the standard and free rappel when it comes to lowering, except two people descend at the same time. Usually both rappellers are on the same rope, one on each end. They lower at a similar pace with careful communication so the descent stays safe.
This one mostly gets used to help another rappeller who isn’t comfortable going down on their own. It also cuts the time it takes to get several people down. Because the two people counterweight each other, it usually depends on them being close in size so you can skip a stopper knot at the top.
Pros of the Tandem Rappel
- It’s a faster way to lower more than one person.
- Done right, both people can lower off the same anchor without extra knots up top.
- Cleaning the anchor can be quicker than working around a stopper knot at the top.
Cons of the Tandem Rappel
- It takes serious communication and body control to keep both rappellers safe.
- If something knocks one rappeller out of the system while the other is still going, the other one falls.
- There’s only one rope through the device, so there’s less friction and it can be harder to control how fast the rope feeds.
Free Rappel
Free rappel is like the standard rappel in that you’re seated with the device in front of you and your brake hand off to the side. The difference is you’ve got no contact with the wall, so you’re just hanging and dropping down the rope. It’s a more advanced style, and whether you use it depends on the rock face you’re coming down.
Pros of Free Rappel
Free rappelling lets you lower into caverns or down overhangs, which the other types of rappelling just can’t handle.
Cons of Free Rappel
- It takes extra experience to hold your body position. If you lose it, you’re at a higher risk of coming out of your harness.
- There’s no easy way to stop yourself from spinning, which can get disorienting.
Whichever style you land on, smooth rappelling comes down to solid habits, and a lot of those get built on the days you’re not on a cliff. If you want short, practical climbing drills in your inbox, join our free newsletter and get 15 minutes of climbing training a week. It’s an easy way to keep your movement and rope skills sharp between trips.
Frequently asked questions
What is the safest type of rappelling?
The standard rappel is the safest and the one most instructors recommend. You’re seated and facing the wall with the device right in front of you, which makes it easy to hold a good body position, add backups like a prusik knot, and even keep a backup belayer at the bottom. Get hands-on instruction from a pro before you try it on real rock.
What is the most dangerous type of rappelling?
The military rappel is usually the most dangerous, and it’s really only used in emergencies. The Australian rappel is risky too, since you’re facing forward and moving fast, which raises the chance of coming out of your harness or getting hurt if you fall.
What is the difference between a standard and a free rappel?
Both put you in a seated position with the device in front of you. The difference is contact with the wall. In a standard rappel your feet are on the wall, while in a free rappel you hang with no wall contact. Free rappel is more advanced and it’s what lets you drop into caverns or down overhangs.
Is the Australian rappel safe for beginners?
No. It’s one of the fastest styles and you face the ground the whole way down, so the risk is higher. Only try it after you’ve got plenty of experience with the standard rappel and you’ve had specific instruction.
What is a tandem or simul-rappel?
A tandem rappel, also called a simul-rappel, is when two people descend at the same time, usually on the same rope with one person on each end. They counterweight each other, so it tends to work best when the two are close in size, and it takes careful communication to keep both people safe.