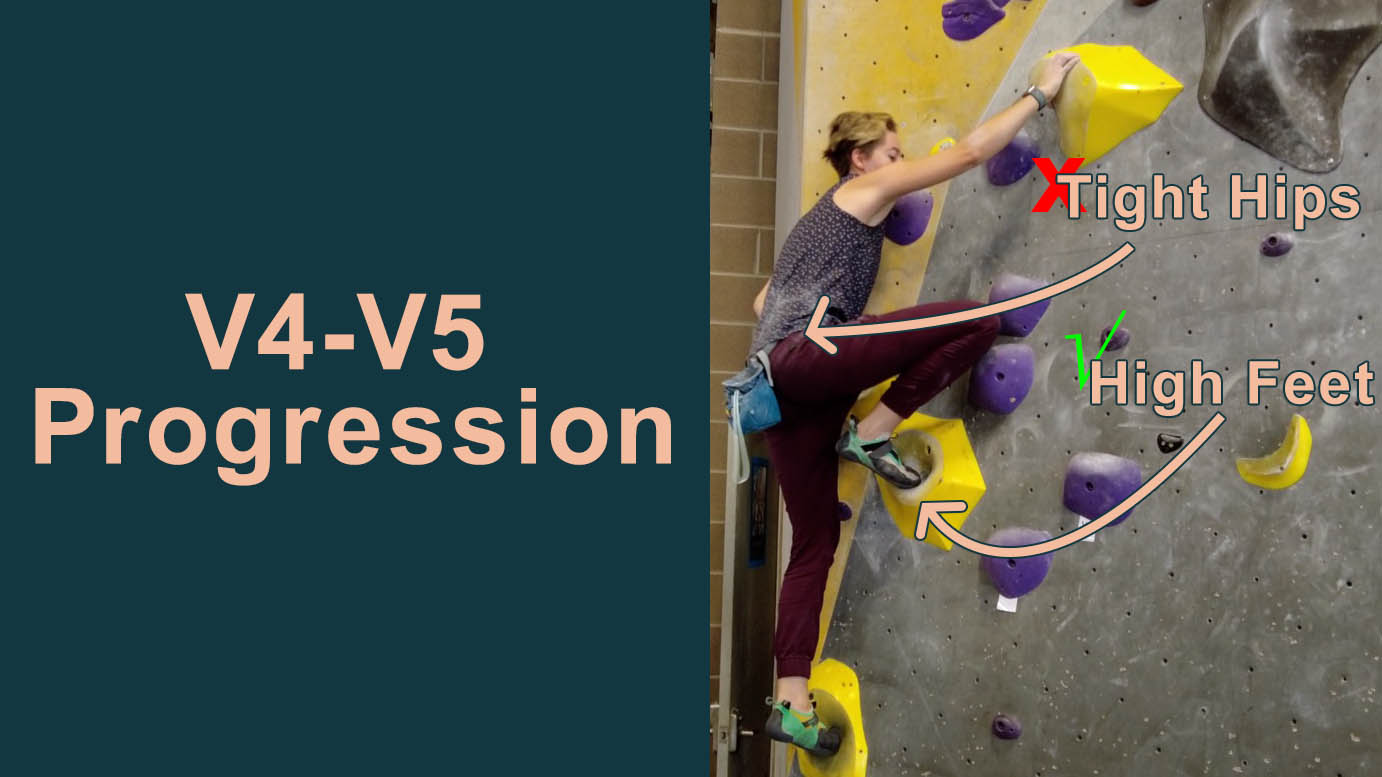
V3 is an incredible milestone for climbers and once you hit that moment, you may start feeling like climbing V4s is a steeper learning curve and much harder to accomplish. The biggest challenge I noticed as I was working on V4s was that the techniques I needed to use require a bit more strength than the techniques I primarily used for climbing V3. Because of this, I think many have neglected to learn or developing these techniques. However, they are necessary techniques if you want to level up to V4-V5.
Lock-Offs
Technique Review:
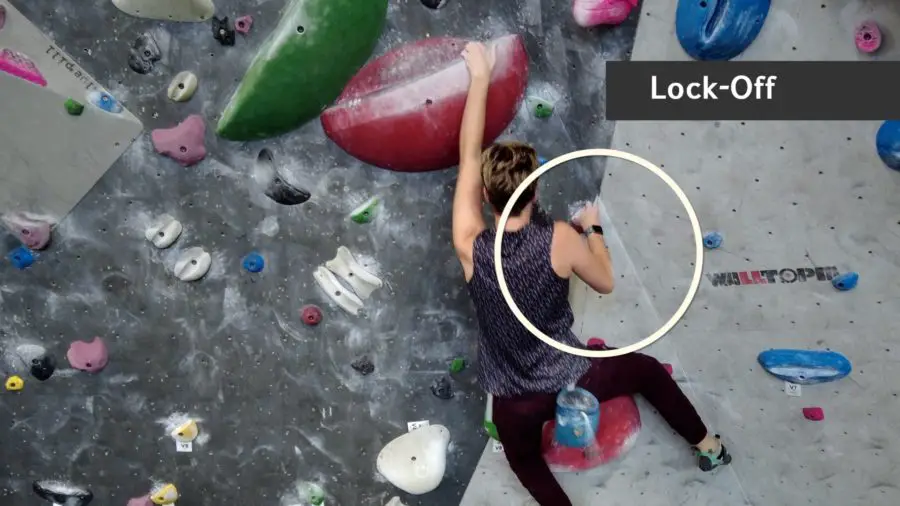
Lock-offs are when you fully flex your bicep and bring your hand into your shoulder while reaching up for the next hold with the opposite hand. This technique is typically paired with pushing off with your feet in a semi-dynamic movement.
Common Challenges:
Lock-offs seemed impossible for me when I first started climbing because it required significant arm strength. At the time, I couldn’t do pull-ups unassisted so pulling my body up with one arm seemed impossible.
Tips to overcome the challenges:
Needing to do a one-armed pull-up to do a lock-off is highly exaggerated and you don’t need to be able to do that at all. I can’t do 1-armed pull-ups (yet) and I can see the value in that but I also recognize that it is not necessary at all. In addition to pulling with your arm, you are also pushing off with your leg – making it more dynamic and it requires a lot less strength in your arm.
How I developed the technique:
I thought that pull-up training was the only answer to developing this skill as that is what I was seeing other climbers do at the gym but I was wrong. Luckily, I was reading a climbing training manual when I came across a drill that made developing pulling strength much more fun and applicable for lock-off techniques.
The drill is actually called Lock-Offs: Essentially, you find a route that is well within your capability and you lock-off before moving to the next hold. You can do this on as many routes as you’d like but I typically do 3 routes then take a 10 minute break and then repeat the three routes with lock-offs.
Eventually, you’re body will start learning how to leverage your legs and core to help with your lock-off and then lock-offs will become much easier on the harder routes.
I’ve shared this drill in a previous video about building strength with on-the-wall drills so if you like it – check out that video for more strength building.
High-Feet
Technique Review:
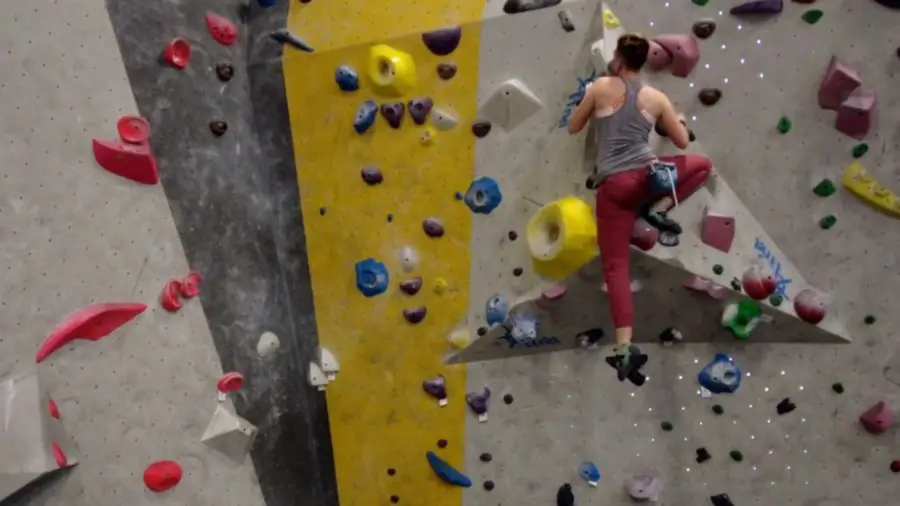
This technique is a way of getting your lower body higher so that you leverage higher footholds and propel yourself up. I’m still on my way to mastering high-feet but even with my current progress, I’ve noticed that it has opened a lot more beta options for climbing harder routes.
Common Challenges:
High feet require a bit of flexibility and it is typically harder for taller climbers that have lengthy legs like mine. Unfortunately, for me, I also have tight hips so high feet is even more challenging. If you don’t have hip flexibility, then your but is going to be pushed away from the wall and it’ll take a lot more core strength to pull yourself back in.
Tips to overcome the challenges:
I have improved a lot with my hip flexibility through stretching at home and stretching while climbing but they are still tighter than a lot of the people I climb with so I’m proof that even a little more flexibility can go a long way.
To improve my hip flexibility, I started doing high-feet on easy climbs that have decent hand holds during my warm-ups. This has helped me not only become slightly more flexible, but I’ve also noticed that I’m more aware of high-feet beta when I include it in my regimen.
Other stretches that open up my hips have been useful as well. For example, sideways lunges, butterfly and the pigeon have been great for me.
TBH, it’s been a while since I’ve done these stretches and I have noticed a decline recently so keep up with it.
How I developed the technique:
Practicing high-feet by placing my feet higher on the route has been instrumental in developing this technique for me. I’d also consider testing different foot positions for your flexibility needs. For example, if I place my heel on the hold and point my toe out, it opens up to my inner hip which is more flexible than the back of my hips or outside of my hips with the majority of my hip stiffness.
Rooting
Technique Review:
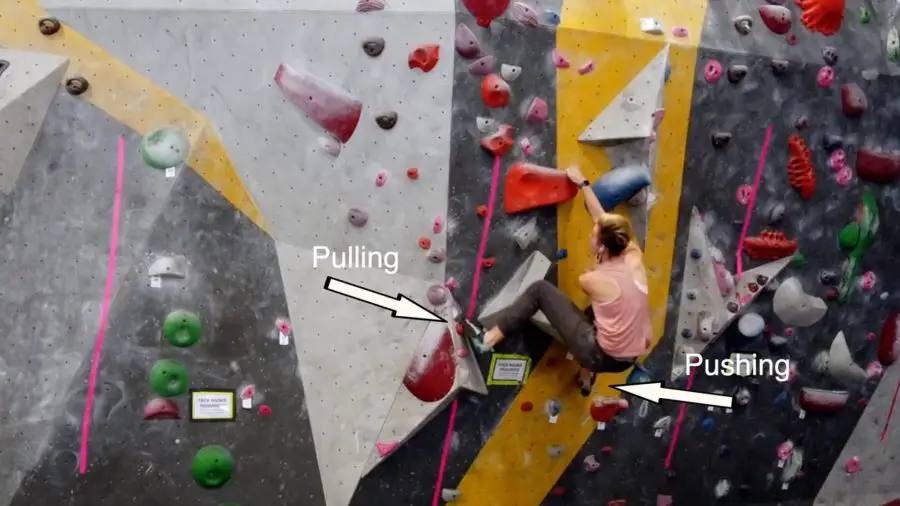
This technique is all about creating and maintaining tension while climbing in your legs and your core. Most of the time, we relate rooting to pulling our body toward a foothold with our legs and glutes, however, this is also a technique that helps you keep your tension when you are pushing away from a hold with your opposite foot.
Common Challenges:
Many climbers find it difficult to pull their body sideways with their feet because they feel like the foothold is too high or they haven’t practiced the technique enough to recognize what muscles they should engage.
Tips to overcome the challenges:
When it comes to rooting, it requires a lot of glute engagement so if you aren’t flexing your glutes while making this move, then you aren’t doing it right. You could pull primarily with your hamstrings, but by not engaging your glutes, you are limiting the amount of strength that could come from such a big muscle group.
Additionally, you can push with the opposite leg/foot while pulling your body in the same direction to help with the transition.
How I developed the technique:
Practicing this technique is what I’ve found to be the best way to develop it. You can find routes that are similar to those that you may practice flagging on (so routes that have sideways movements) and then instead of flagging, you’ll place your foot on the hold out to the side and shift your weight toward it.
Love These Drills?
Imagine how much easier your climbing journey would be if you had an entire book of drills (77 Drills, to be exact).
77 Drills To Help You Climb Better is NOW AVAILABLE
More About Training for Climbing:
- How To Climb More Often Without Getting Injured | Tried And Tested Methods For Recovery
- Lower Body Mobility And Flexibility Challenge
- Neglected Techniques Necessary For V4-V5 Progression
- 17 Footwork Drills For Climbing
- Mental Training For Climbing
- How Often And Hard Should You Climb To Get Gains?
- When Should You Start Hangboarding For Boulder’s
- Is Bouldering When Sore Bad?
- The Top 22 Climbing Techniques And Skills And How To Do Them
- 23 Tips For Climbing Slabs
- When To Flag In Climbing And How-To-Do It (With Videos)
- How To Learn Climbing Technique For Beginners
- What Should You Record In A Climbing Journal?
- Climbing Endurance: Muscle, Skin And Mental Training
- How To Deal With Fear Of Falling
- How Many Days Should You Climb Per Week?
- 5-10 Minute Warm-Up For Climbing
- What Is A Dyno And How To Do It
- What Is A Gaston In Climbing? Powerful Moves For Beginners
- Can Foam Rolling Improve Rock Climbing Performance?
- 7 Things Climbers Should Do On Rest Days For Better Performance
- When Do You Need A Rest Day?
- How To Climb Your Best – Pros And Cons Of Rest Days
- Static Vs Dynamic Climbing Movement: Pros And Cons
- 5 Habits For Healthy Climbing That You Haven’t Thought Of
- 5 Things To Improve Climbing Performance And Sustainability
- 10 Minute Workout Routines For Post Climbing Sessions
- How To Use Climbing Holds: Techniques For Improved Climbing
- A Guide For Climbers: Bouldering Drills 101
- 12 Easy Workouts To Increase Hand And Grip Strength For Climbers
- What Are Undercling Climbing Holds And Why Climbers Love/Hate Them
- What Is A Crimp In Rock Climbing And How To Train For Them
- 7 Common Mistakes in Rock Climbing For Beginners

