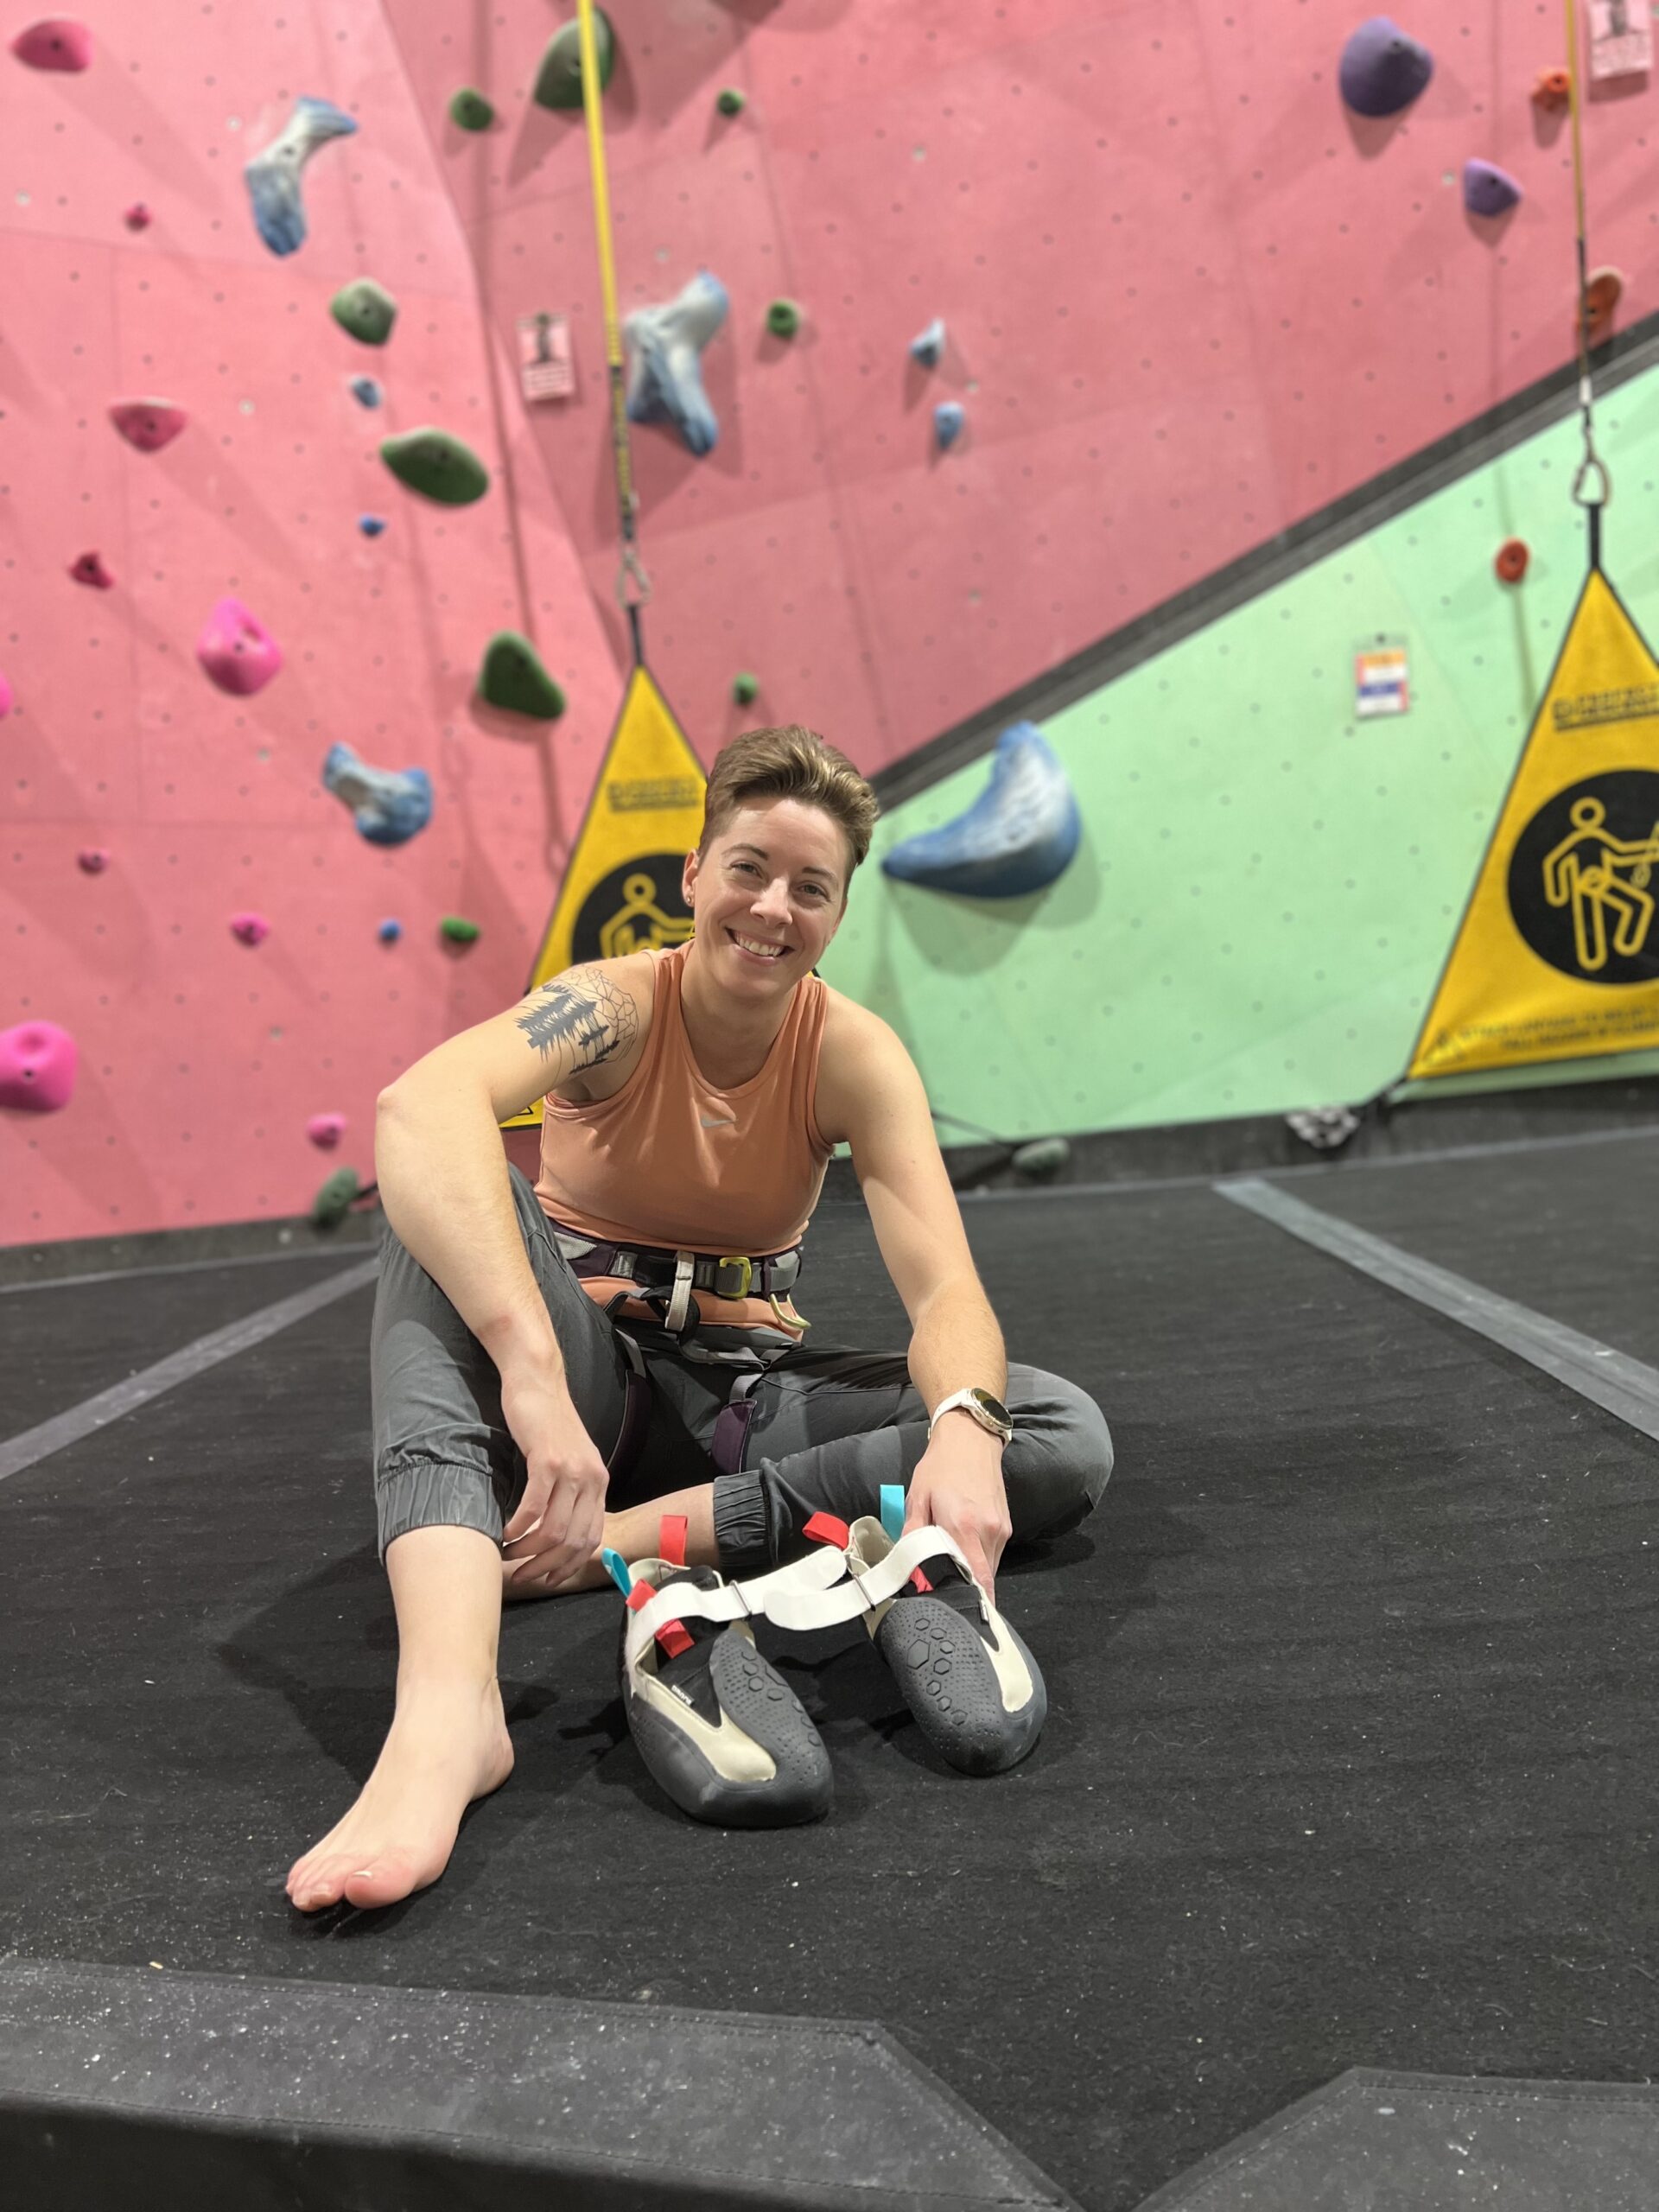
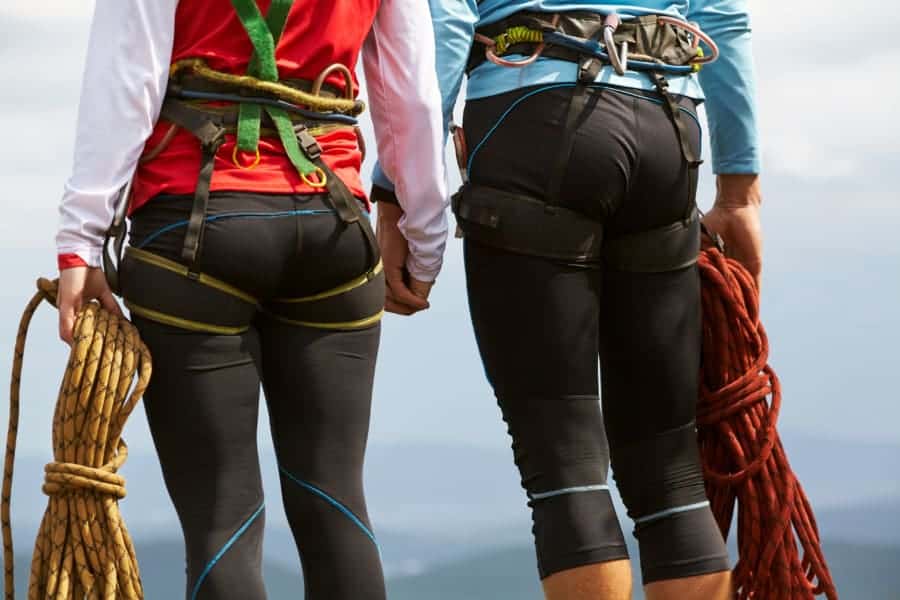
Learning how to put on a climbing harness is one of the first things you do as a climber, and the good news is you really only have to get it right once before it turns into muscle memory. The most important part is wearing it correctly, because your harness is the piece of gear that keeps you tied into the rope and safe off the ground. Take a minute the first few times, and after that it’s quick.
If you’re still shopping around, it helps to start with the right harness for what you climb so the fit and buckles make sense from day one.
How to put on a climbing harness in six steps
Here are the six steps to putting it on correctly:
- Orient the harness so the belay loop is facing forward
- Place your legs in each of the leg loops
- Pull the waist belt above your hips (this should also drag up the leg loops)
- Tighten the waistband so that it isn’t able to slide down your hips (see waistband fit above)
- Tighten your leg loops as tight as you feel comfortable (see leg loop fit above)
- Test the tightness on of your harness by hanging in it. There shouldn’t be more than a fist between the harness and your waist.
Check the buckle before you climb
Before you weight the rope, look at your waist buckle. A lot of harnesses use a buckle you have to double back, which means threading the webbing back through the buckle a second time so it can’t slip loose under load. Some newer harnesses have buckles that lock automatically and don’t need doubling back, so check what yours does. If your buckle is the kind that needs doubling back and it isn’t doubled back, stop and fix it before you leave the ground. This one check is the difference between a harness that holds and one that can slide open, so make it part of your routine every single time, right alongside your partner check when you’re getting ready to belay or climb.
Wondering how your harness should fit? Check out the fitting guide here.
If you’re getting into rappelling as well, it’s worth knowing how the same fit rules carry over when you’re loading the harness on the way down. Take a look at our guide to harnesses for rappelling so you know what to look for.
Want to keep leveling up like this? Our free newsletter sends you one climbing drill a week, about 15 minutes each, so you build real skill without overhauling your whole life. Join the newsletter here and start putting the reps in.
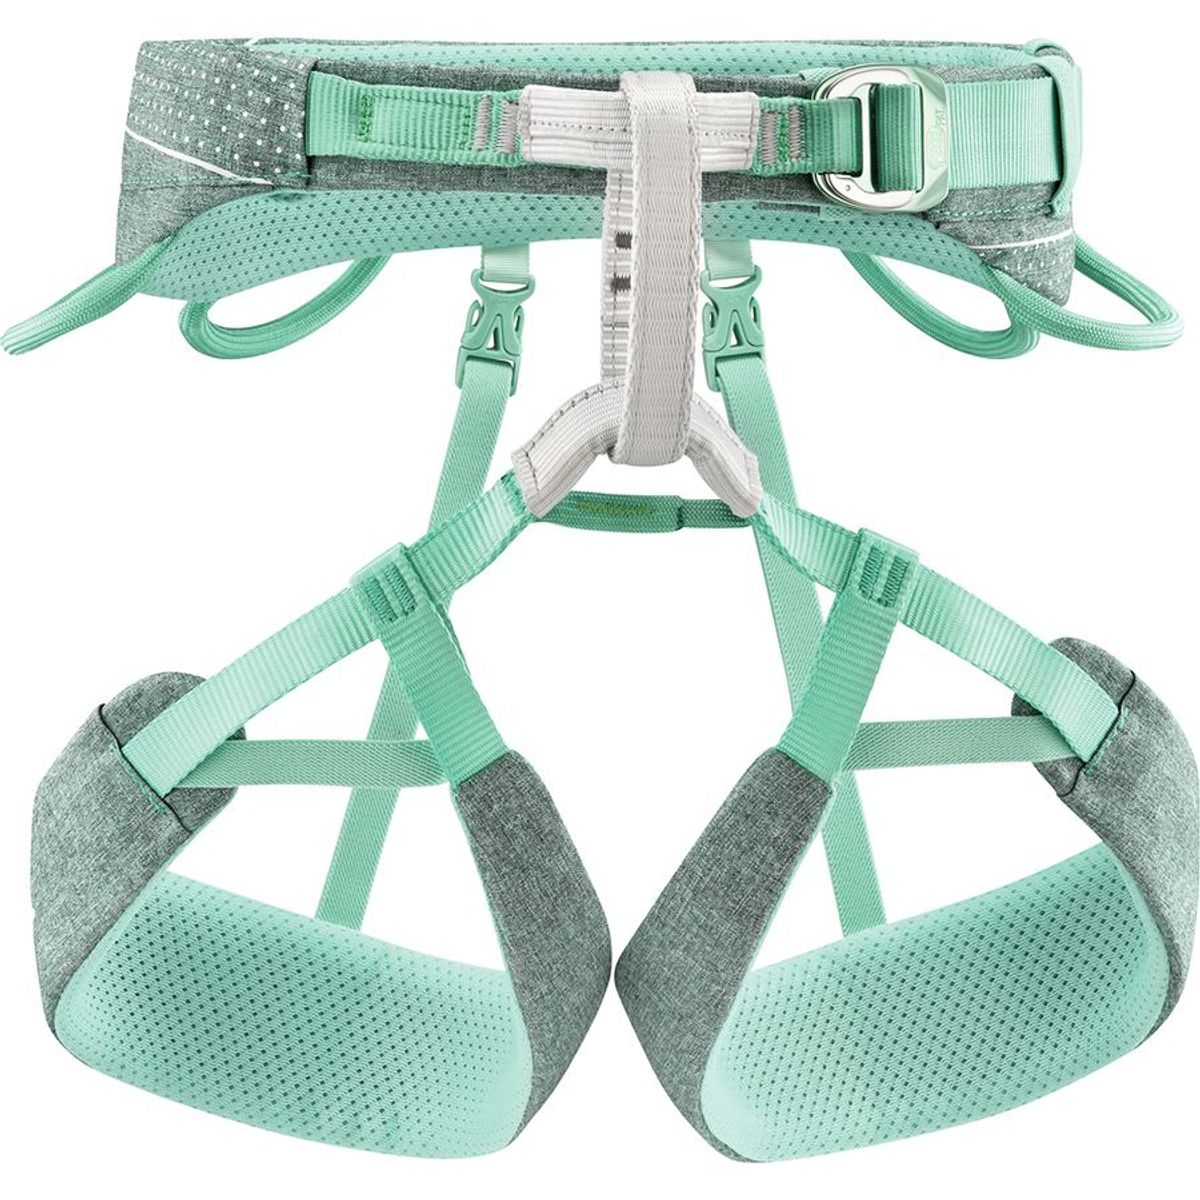
Want this harness?
Check the pricing from Backcountry here.
Frequently asked questions
Which leg goes into the harness first?
It doesn’t matter which leg you put in first. What matters is that the belay loop is facing forward and that each leg goes into its own leg loop, without the loops crossed or twisted. Once both legs are in, pull the waist belt up above your hips.
Do I need to double back the buckle on my harness?
It depends on your harness. Many harnesses have a buckle that must be doubled back, meaning you thread the webbing back through the buckle a second time so it can’t slip. Other harnesses use buckles that lock on their own and don’t need doubling back. Check your model, and if yours needs doubling back, confirm it’s done before every climb.
How tight should the leg loops be?
Tighten the leg loops as tight as you feel comfortable. They should be snug enough that they stay put, but not so tight that they cut off circulation. You want to be able to hang in the harness without the leg loops digging in painfully.
How do I know my harness is on correctly?
Do a quick hang test. When you sit back into the harness, there shouldn’t be more than a fist of space between the waist belt and your waist, and the belt shouldn’t slide down over your hips. Add a buckle check to make sure any double-back buckle is threaded properly, and you’re good to go. For more detail, see our harness fitting guide.